
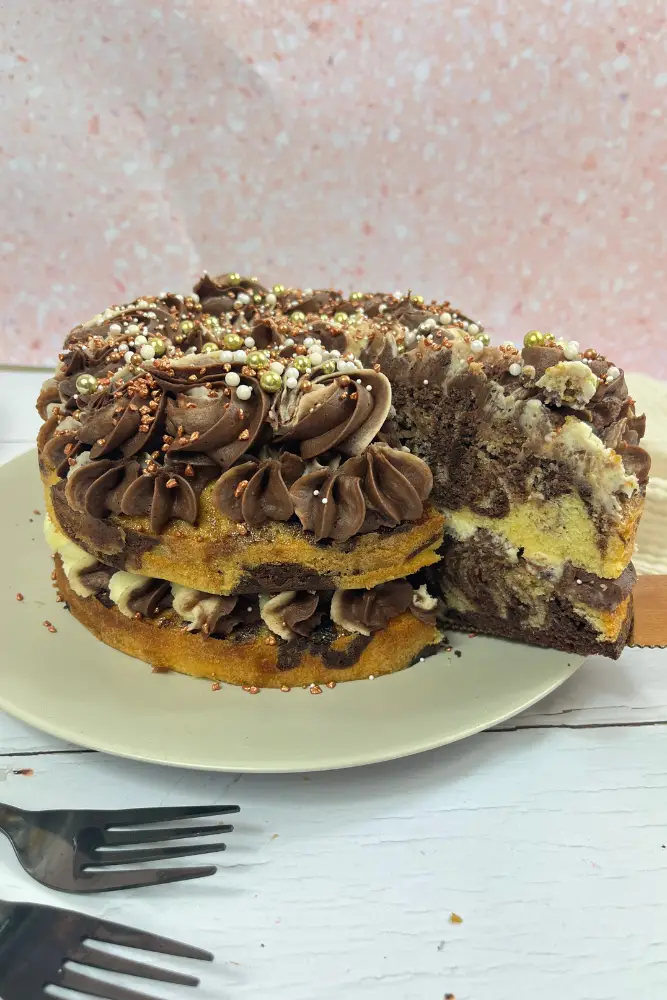
Marble Cake
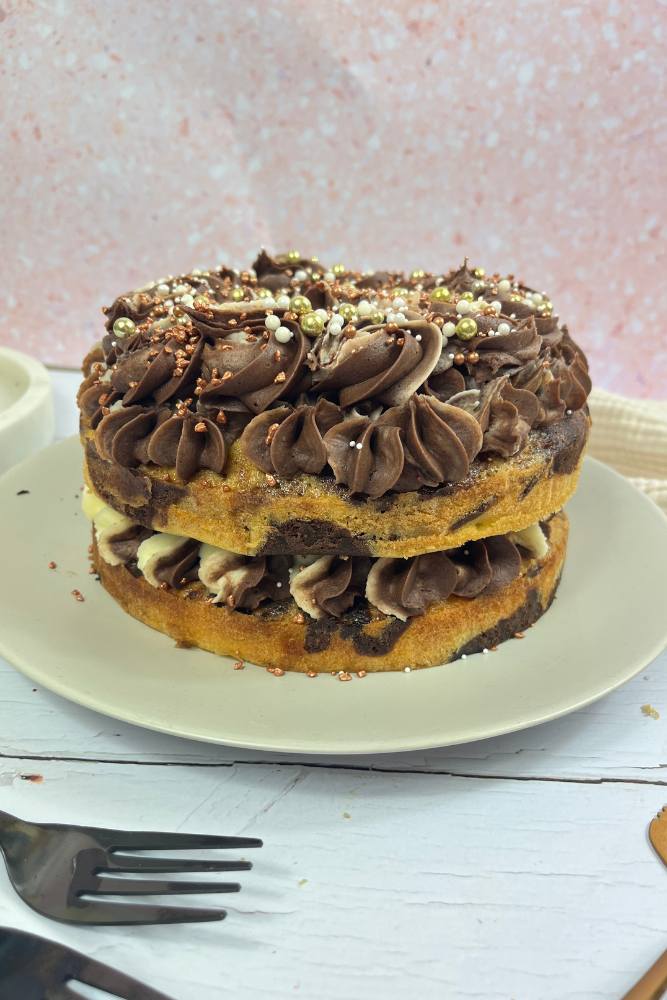
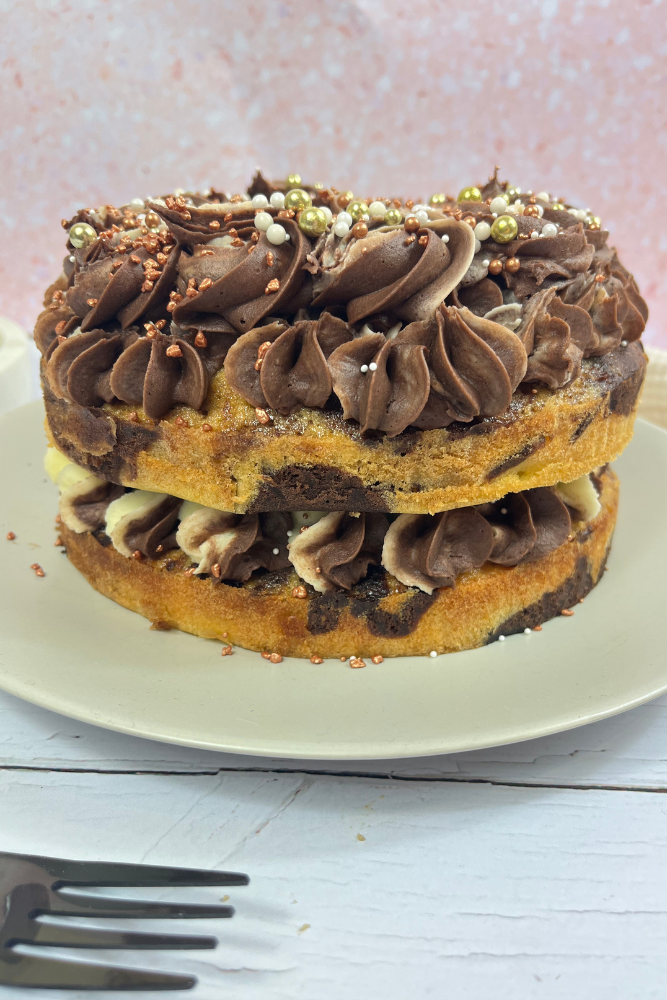
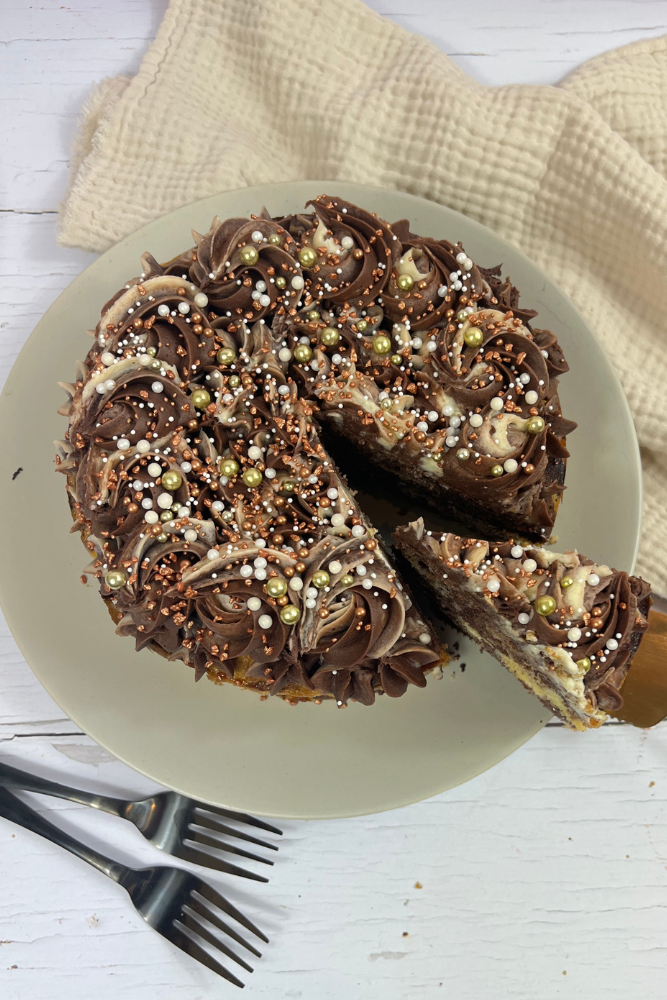
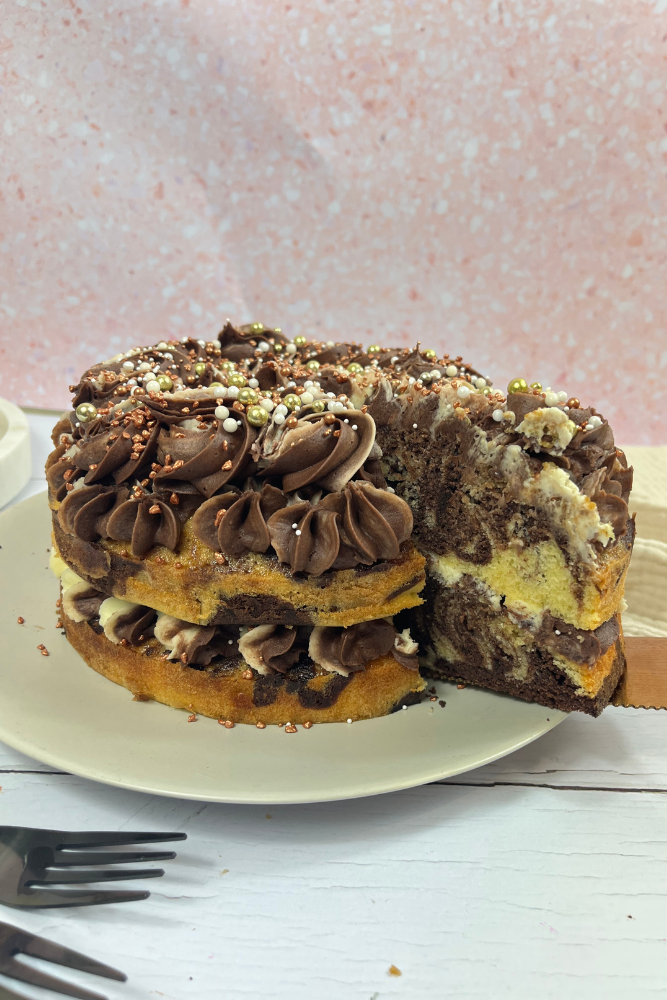
This marble cake is vanilla and chocolate cake marbled together to get the best of both worlds. Sandwiched together with vanilla and chocolate buttercream and topped with some super cute chocolate sprinkles.
Jump to Recipe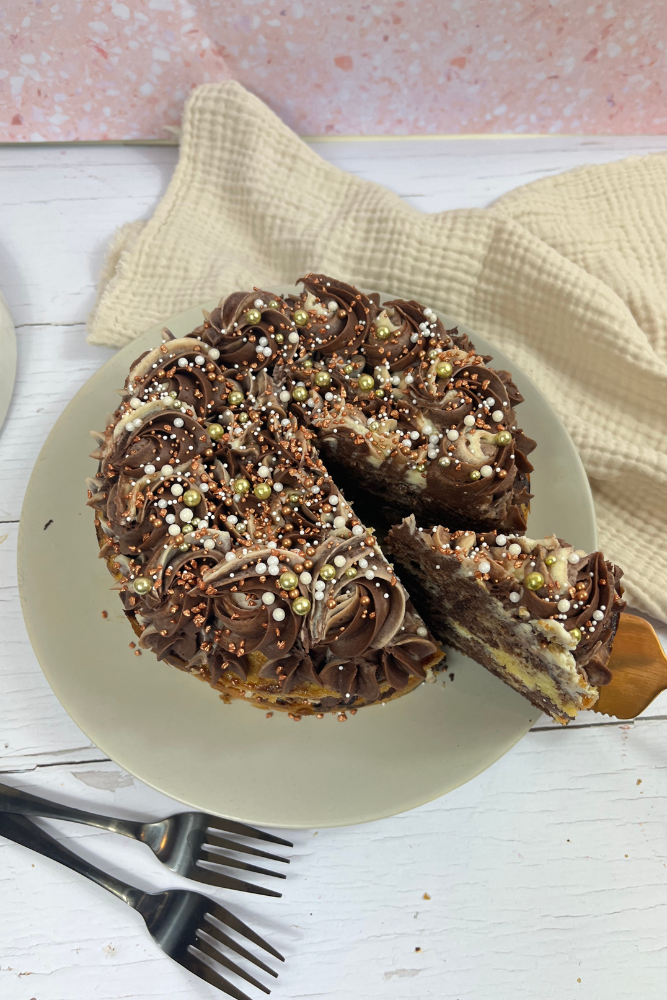
This Marble Cake is
The best of both worlds. Unsure if you want vanilla or chocolate cake then this is perfect for you.
Baked in an 8” cake tin which means there is plenty of it to go around.
Super straightforward and easy to make.
Made from one cake batter.
Marble Cake
As I said above this marble cake is made using one cake mix. Making it super quick and easy. The base of the cake is made using the same recipe as my Strawberry and Cream Cake with only a few tweaks.
The base of the cake is made using caster sugar and butter which are creamed together. Creaming together the butter and sugar until it is pale and creamy helps to incorporate air into your mixture so that your cake rises and is lovely and soft.
For the base, you can use either unsalted butter or a baking spread like Stork. A supermarket’s own branded baking spread or soft spread also works perfectly in this recipe.
In all my cake recipes I use self-raising flour. Self-raising flour already has baking powder in to help with the rise of the cake. But I always add in an extra teaspoon just to be sure. Any kind of self-raising flour or plain flour would work.
Related Recipes
I know a lot of people think that using more expensive flour gets you better results, but to be honest I have tried pretty much every flour I can find in supermarkets, and I have never noticed a difference between the quality or taste of the cake.
At this point, you essentially are going to have a vanilla cake, so what we need to do is split it between two bowls and to one of the bowls add in the cocoa powder.
The bowl that you add the cocoa powder to will become quite thick, which in turn makes the cake quite dry. So, I always add whole milk to the recipe to help moisten the cake.
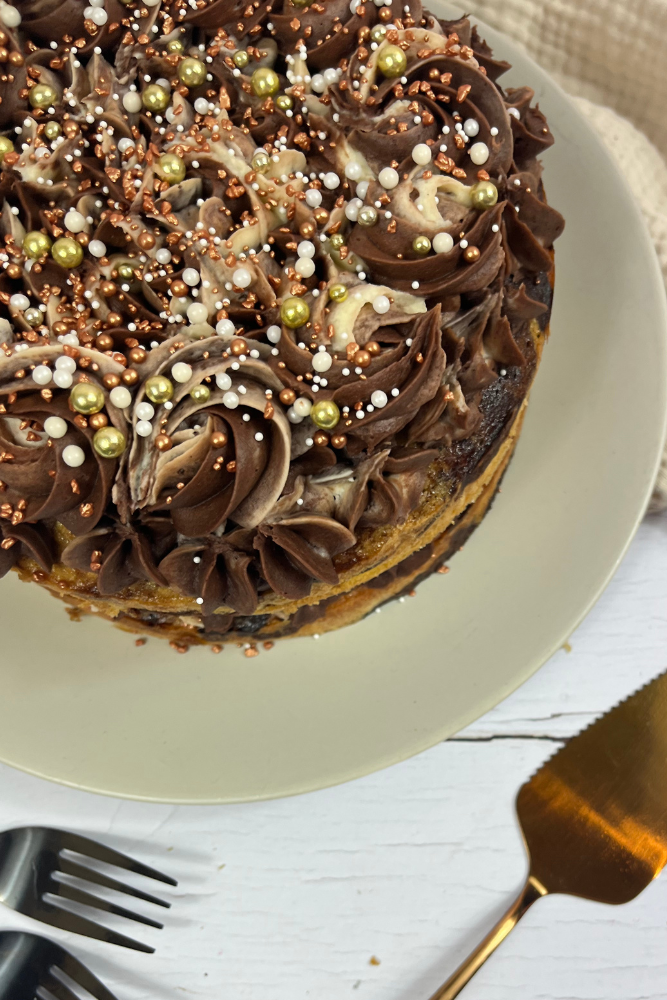
Split both the vanilla mixture and the chocolate mixture between your two cake tins. I found the easiest way to do this was to alternate adding spoonfuls of each mixture to the tins. You could also pour ½ of the chocolate mixture into one cake tin and ½ of the vanilla mixture on top.
It will look a bit blobby at this point so to marble the two cakes together use a skewer to swirl the vanilla and chocolate together.
Baking the Cake
You will know the cakes are baked because they will be golden brown in colour. You can test the cakes by using a cake tester and testing the thickest part of the cake. The cake tester should come out clean, if there is still batter on the cake tester put the cake back into the oven for 3-4 minutes and repeat.
Another way to test if the cakes are baked is to gently press down on the top of the cake. If the cake springs back to its original shape when you remove your finger, then they are ready. If you end up with a slight dent in the top of the cake pop them back into the oven for 3-4 minutes and repeat until the cake springs back.
The cakes need to cool in their tins for 10-15 minutes before being moved onto a wire rack to cool fully.
If you try and take the cakes out of the tin as soon as they come out of the oven you might end up ripping or breaking them. Giving them time to cool in the tin first will ensure that they are a bit firmer.
Cooling the Cake
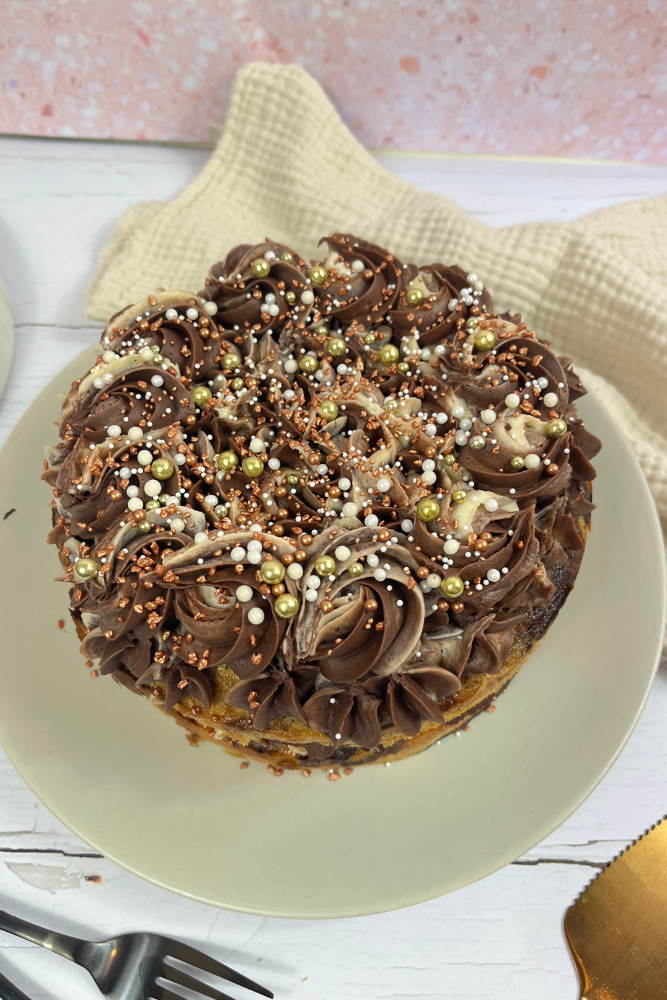
The cakes need to be completely cooled before you can decorate them with buttercream. I would recommend leaving them in the tins to cool for around 15-20 minutes before moving them to a wire cooling rack to cool completely.
A little tip, if your cakes have domed tops, cool them upside down on the wire rack (domed side down) and the weight of the cake will flatten the dome meaning you won’t have to cut away any excess.
Marbled Buttercream
Because this is obviously a marbled cake, I wasn’t sure what kind of buttercream to decorate it with. Should I go with vanilla, or should I go with chocolate? How could I possibly side with one flavour and leave the other out?
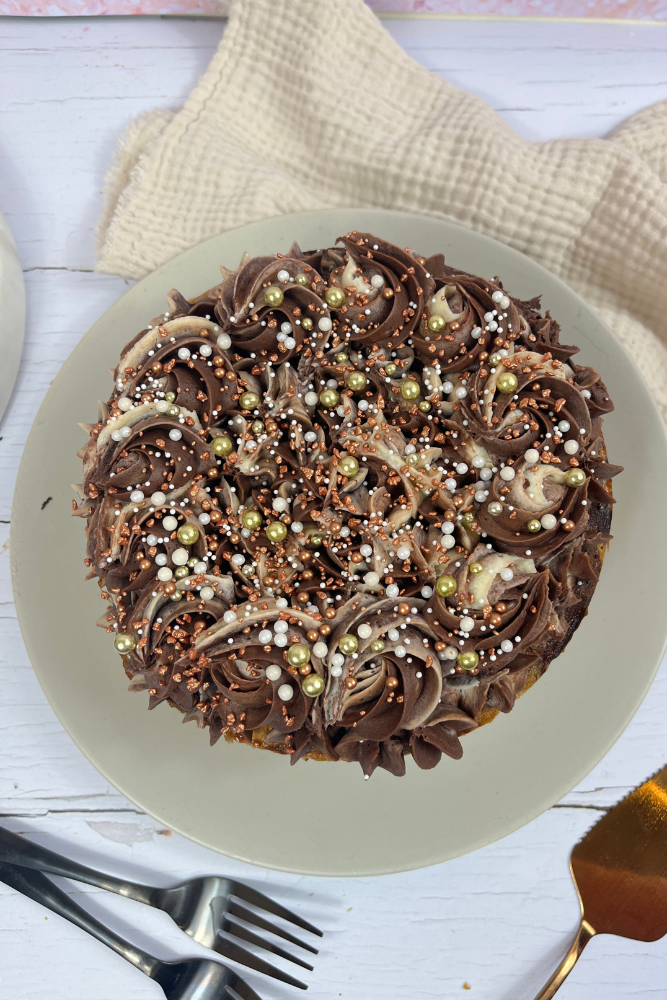
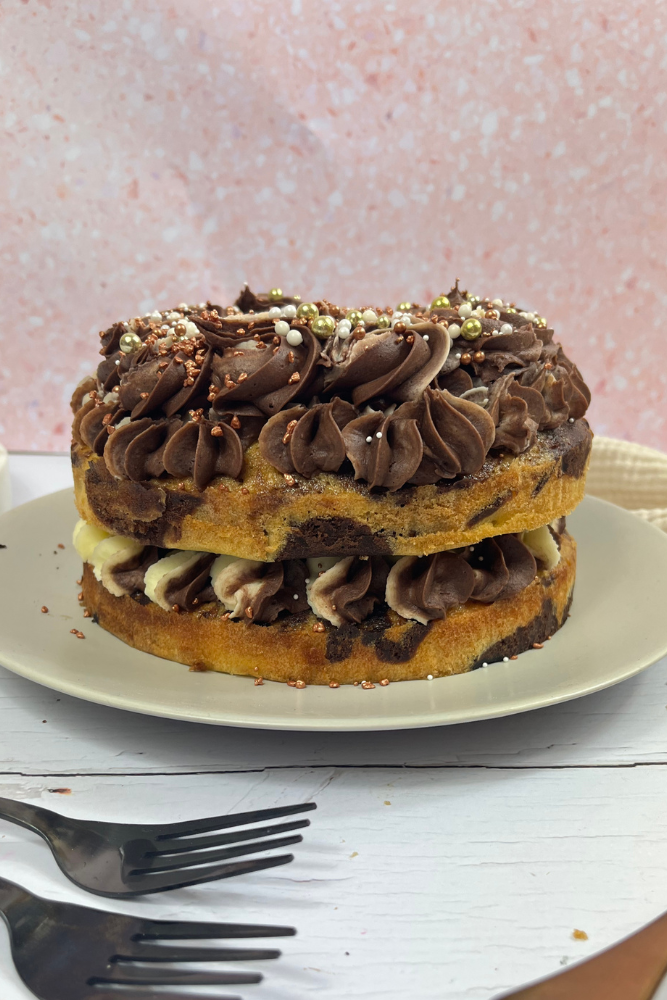
So, I went with a swirled chocolate and vanilla buttercream. Again, the best of both worlds.
I started off by making the buttercream vanilla flavoured, just like I did with the cake and then split it into two bowls and added cocoa powder and milk to one of them.
To get both flavours into my piping bag, I rolled out some cling film onto my workspace and spread the vanilla buttercream in a line in the centre. I then added the chocolate buttercream beside it before rolling the clingfilm around both buttercreams and twisting the ends so none could escape. It should look like a giant buttercream sausage.
Leave it to one side while you prepare your piping bag with your favourite piping tip. I used a 2D Piping Tip on this cake. Once you have your piping bag and tip snip one end of the buttercream sausage off and place this into your piping bag.
When you start to pipe don’t worry if there is more of one flavour than the other this should even itself out the more you pipe and you will end up with lovely swirls of vanilla and chocolate buttercream.
Alternatives
This method of marbling a cake would work well with any flavour. How about adding some flavouring, for example, adding orange extract would make this a chocolate orange marble cake.
If you prefer you don’t need to swirl the buttercream, you can make it one flavour. If you are making vanilla stop before splitting it between the two bowls and if you want to make it chocolate, remove 30g of icing sugar and add in 30g of cocoa powder.
Equipment
*I earn a small amount of money if you buy any of these products. You will not be charged anything extra for this. Thank you for supporting A Spoonful of Vanilla.
Pin it For Later!
If you do have any questions about this Marble Cake or any other recipes on my blog you can contact me either by sending me a DM on social media or an email. You can find all my details on the left-hand side of this page.
Marble Cake
Ingredients
For the Cake
- 325 g Unsalted Butter or Stork
- 325 g Caster Sugar
- 325 g Self-Raising Flour
- 6 Large Eggs
- 1 tsp Baking Powder
- 1 tsp Vanilla Extract
- 25 g Cocoa Powder
- 20 ml Whole Milk
For the Buttercream
- 500 g Icing Sugar
- 250 g Unsalted Butter
- 1 tsp Vanilla Extract
- 25 g Cocoa Powder
- 3-4 tbsp Whole Milk (optional)
For Decoration
- Chocolate Sprinkles
Instructions
To Make the Cake
- Preheat the oven to 180C (160C Fan). Line two 8” cake tins with greaseproof paper and leave to one side.
- In a large bowl, cream together the sugar and butter until light and fluffy.
- Add in the flour, eggs, baking powder and vanilla extract. Whisk until all are combined.
- Split the mixture equally between two bowls. To one of the bowls add the cocoa powder and milk and whisk until combined.
- Add both mixtures to your cake tins. I found the easiest way to do this was to alternate adding a spoonful of vanilla and then chocolate.
- Using a skewer swirl the two batters together.
- Bake in the oven for 35-40 minutes. You will know they are ready when they are springy to touch.
- Leave them to cool in the cake tin for 15-20 minutes and then remove and put them on a wire rack to cool fully.
To Make the Buttercream
- In a bowl mix together the icing sugar, butter and vanilla extract until combined. If you find the mixture is a bit thick then add in a teaspoon of milk and mix again repeat until it is the desired consistency.
- Split the mixture equally between two bowls. To one of the bowls add the cocoa powder and mix. If the buttercream is quite thick then add a tablespoon of milk and mix again. Repeat until it is the desired consistency.
- Place a large piece of cling film on your work surface. Spread the vanilla buttercream in a straight line down the centre. Spread the chocolate buttercream beside it.
- Roll the clingfilm up so you have a buttercream sausage. Twist either end to stop the buttercream from spilling out.
- Snip one of the ends of the buttercream sasuage and put it into your piping bag.
To Deorate
- Place your first cake on your serving plate and pipe the buttercream onto the top of the cake.
- Add your second cake on top and again decorate with the buttercream. Decorate with some chocolate sprinkles and enjoy!
Notes
- This Marble Cake will last 3+ days in an airtight container.
I need a larger version of your fab looking cake for a birthday party. What measurements would I need for a 9″ tin. And what cooking time? Thanks!
Hi, thank you so much! For the cake I would increase the Butter, Flour and Sugar to 400g, 8 Large Eggs, 1tsp Baking Powder and Vanilla Extract, 30g of Cocoa Powder and 25ml of Whole Milk. The buttercream I would increase the Icing Sugar to 550g, 275g of Unsalted Butter, 1tsp of Vanilla Extract, 30g of Cocoa Powder and 4-5tbsp of Whole Milk if needed. Split the mixture between two 9″ cake tins and bake in the oven at 180C (160C Fan) for for 40-45 minutes. I hope this helps and you enjoy the cake!