

Halloween Cheesecake
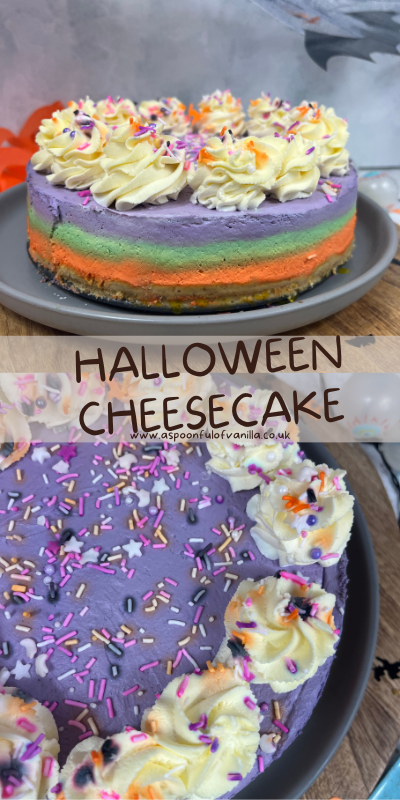
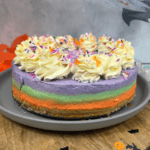
This no-bake Halloween Cheesecake has three layers of vanilla cheesecake topped with double cream and sprinkles.
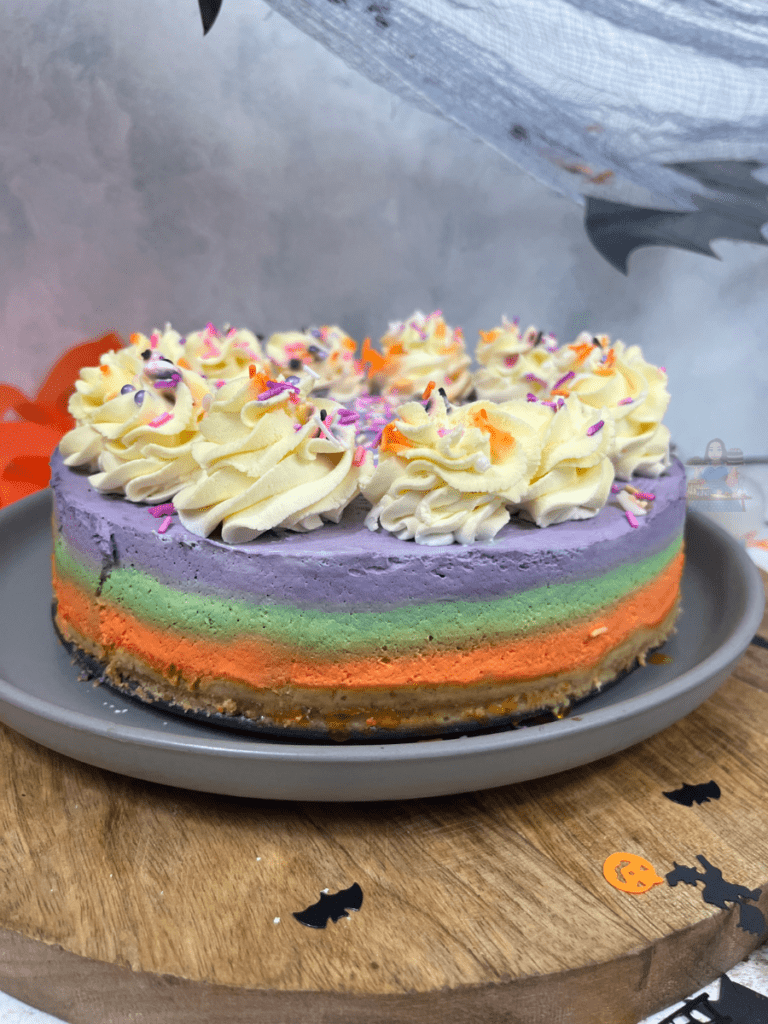
This cheesecake is so different from anything I had on my blog before, and I am absolutely bewitched by it. I mean just look at those layers.
I’m not sure if Halloween has a colour scheme but I always associated the colours purple, green and orange with Halloween, so that is what I went with.
Jump to Recipe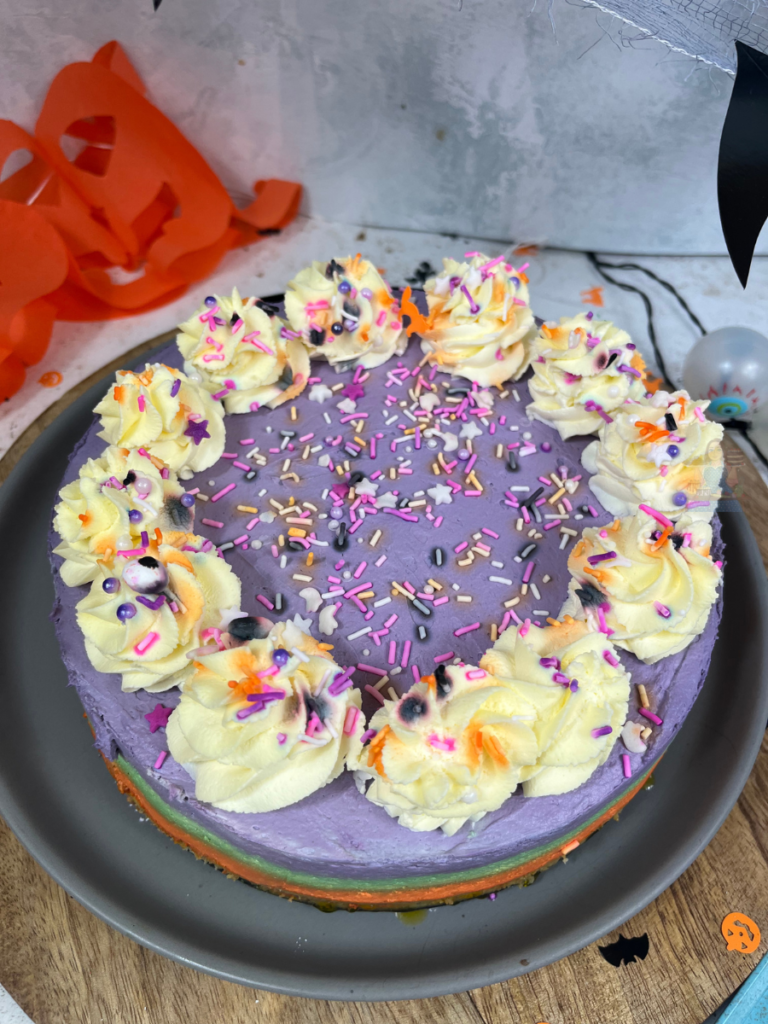
How To Make the Biscuit Base
I always use a plain biscuit for the base, I just find they work best. I normally go with a digestive biscuit but hobnobs or another plain biscuit would work well too.
For the perfect base, the biscuits need to be crushed to a fine crumb. There are a few different ways to get the fine crumbs. I prefer to blitz the biscuits in a food processor but you could also pop them into a food-safe bag and bash them with a rolling pin.
To bind the base together you can use either unsalted butter or a baking spread like Stork. it should resemble wet sand.
Press the biscuit base into the cake tin using a spatula or the back of a spoon. You could also use your hands to press the biscuit into the base.
How To Make The Halloween Cheesecake
This cheesecake only requires 3 main ingredients. Soft cheese, double cream and icing sugar.
You need to use full-fat soft cheese when you are making a cheesecake. When you whip up the soft cheese and icing sugar together the soft cheese should thicken. If you use a reduced-fat version this won’t happen and your cheesecake won’t set.
To flavour the cheesecake I added Vanilla Extract. You could use any flavouring you fancied, or if you are just looking to make a plain vanilla cheesecake stop here and add the mixture to the top of your biscuit base.
There are a few ways to tell if your cheesecake has been whipped enough. It should hold stiff peaks, or if you scoop some up on your spatula or spoon and hold it upside it down it should hold for a few seconds before falling off.
Split the mixture equally into three bowls and add a small amount of food colouring. I used orange, green and purple. Always start off with a small amount of food colouring and gradually build it up. If you add too much, to begin with then you are stuck with that colour.
Related Recipes
Once you are happy with all three colours pop them into individual piping bags with a large round nozzle. I found piping the cheesecake onto the biscuit base to get neat sections. Pipe the cheesecake around the side of the tin first before filling it in the centre. You can then smooth it out using a spatula or palette knife. Repeat with all three colours.
The cheesecake will need to be set in the fridge overnight or for a minimum of 4 hours. The shorter the amount of time in the fridge the softer the cheesecake will be.
Once the cheesecake has set, remove it from the tin. I prefer to use a spring-form tin and I just find it so much easier to get the cheesecake out once it has set.
If there are any bumps around the side of your cheesecake you can go around it with a cake smoother or palette knife and smooth these out.
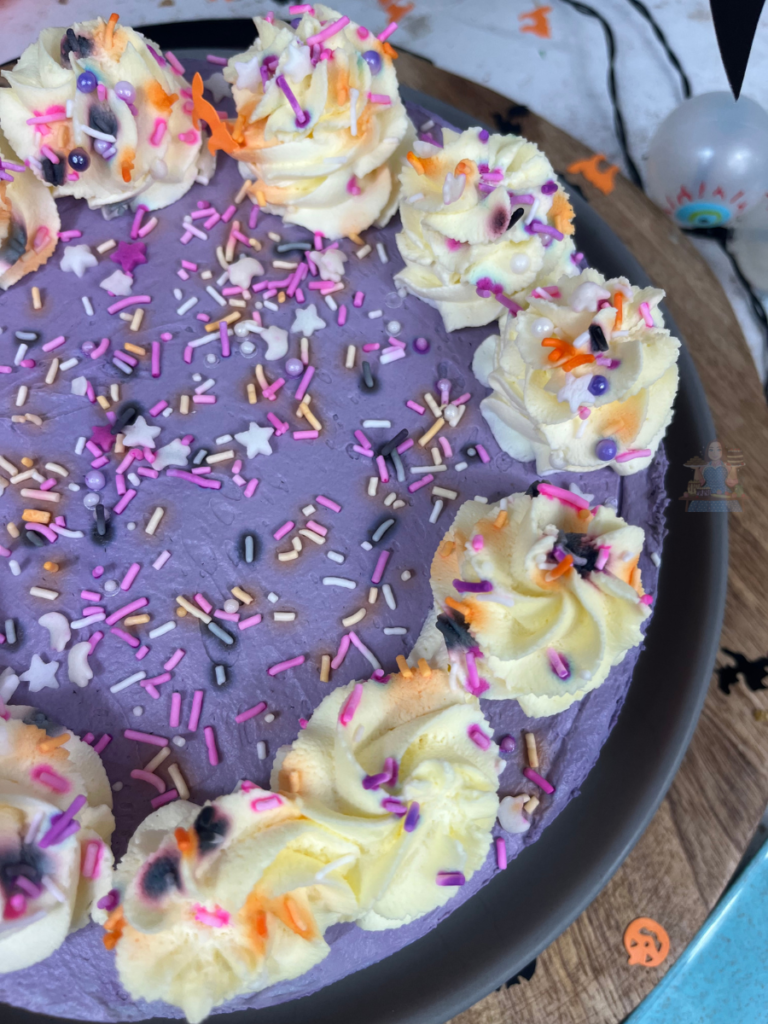
I always decorate my cheesecakes with leftover double cream but you can decorate them in any way you fancy. I finished it off with some spooky Halloween sprinkles.
Alternatives
As I said above you can use any biscuits you want for the base. I prefer to use a plain digestive biscuit, but you could use Oreos or chocolate biscuits if you prefer. Just remember to reduce the amount of butter by 25g.
I used Orange, Green and Purple food colouring but you could use a combination of any colours you fancy.
Equipment
*I earn a small amount of money if you buy any of these products. You will not be charged anything extra for this. Thank you for supporting A Spoonful of Vanilla.
Pin it For Later!
If you do have any questions about this No-Bake Halloween Cheesecake or any other recipes on my blog you can contact me either by sending me a DM on social media or an email. You can find all my details on the right-hand side of this page.
Halloween Cheesecake
Ingredients
For the Biscuit Base
- 125 g Unsalted Butter or Stork
- 350 g Digestives
For the Cheesecake
- 700 g Full-Fat Soft Cheese
- 150 g Icing Sugar
- 300 ml Double Cream
- 1 tsp Vanilla Extract
- Green Food Colouring
- Orange Food Colouring
- Purple Food Colouring
To Decorate
- 300 ml Double Cream
- 1 tbsp Icing Sugar (optional)
- Sprinkles
Instructions
To Make the Biscuit Base
- In a food processor blitz your biscuits to a crumb.
- Add the butter and pulse for 20-30 seconds until the butter is incorporated and the biscuits now resemble wet sand.
- Pour the mixture into your cake tin and press down with the back of a spoon, until the entire base is covered by the biscuit and it is nice and level. Leave to one side.
To Make the Halloween Cheesecake
- In a bowl mix together the soft cheese and icing sugar, until it is nice and thick.
- Pour in the double cream, while mixing at a slow speed. The mixture should be thick and holds its shape.
- Split the mixture between three bowls. Add a little of the orange food colouring to one bowl and mix. Build the colour up by adding a little at a time, mixing in between each addition until you get the desired consistency.
- Put the cheesecake mixture into a piping bag with a large round nozzle.
- Repeat, adding the purple food colouring to one bowl and green to the other.
- Once you have all three colours in individual piping bags, pipe the first colour onto the top of the biscuit base. I went around the edges first before filling in the centre.
- Using a spatula or palette knife smooth the cheesecake mixture.
- Add the next colour on top. Again start by piping around the sides of the tin first and then filling in the middle and smoothing. Repeat using the final colour.
- Put the cheesecake into the fridge to set overnight (or at least 8 hours).
To Decorate
- Remove the cheesecake from your cake tin.
- Whip the double cream until it is thick. If you would like to sweeten the cream add a tablespoon of icing sugar.
- Pipe the double cream onto the top of the cheesecake and decorate using some spooky Halloween sprinkles.
Notes
- This Cheesecake will last for up to 3 days in the fridge.