

Slime Tart
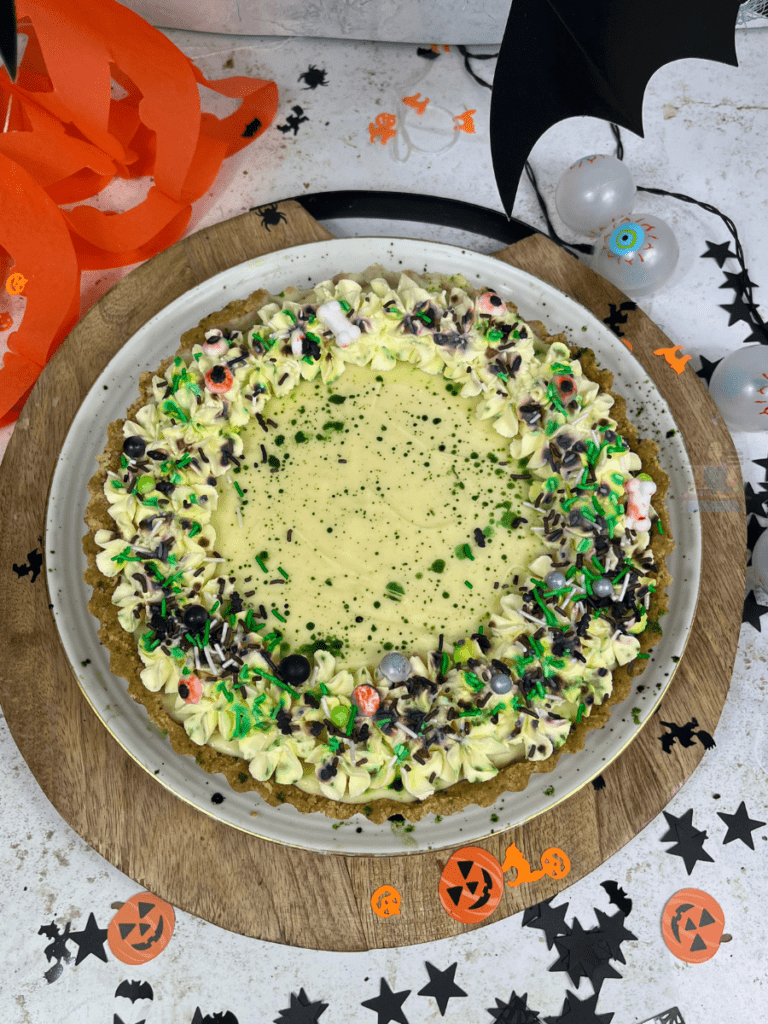
This spooky slime tart has a buttery biscuit base, and a gooey edible slime layer and is topped with white chocolate, double cream, some slime spatters and of course some Halloween sprinkles.
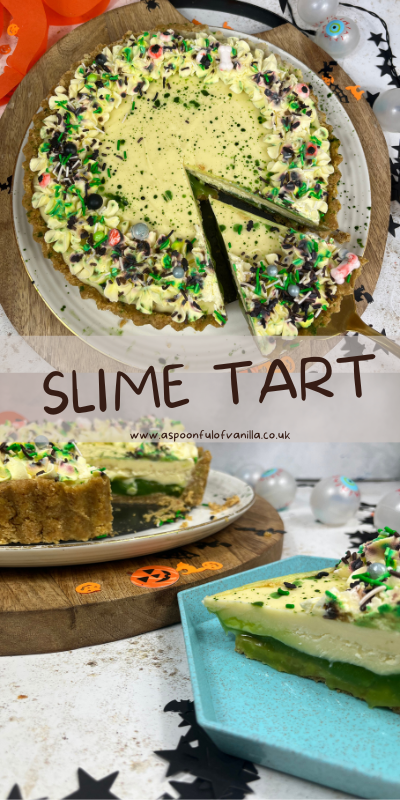
I have had so many fun Halloween baking ideas this year and I am so excited about this slime tart. It’s just so much fun seeing people’s reactions as the slime oozes out when you cut into it, then the realisation that actually it is really yummy.
The slime is the same as in my Trick or Treat Cupcakes recipes. It is…lemon curd! Yep, you read that correctly. The slime in this tart is actually lemon curd, which I have dyed green.
Jump to Recipe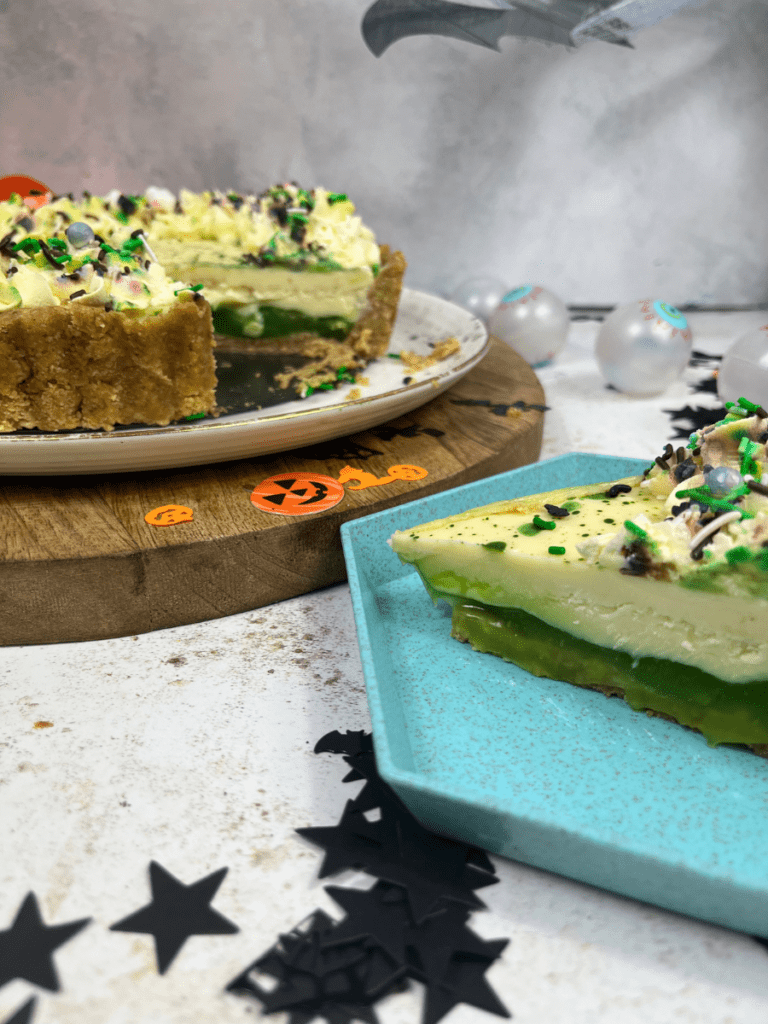
How To Make This Slime Tart
So, first up let’s wind back to the beginning of this recipe. The base. I used a biscuit base just like I normally do for my tart and cheesecake recipes. As with all my tart recipes I used this tart tin.
This base is just crushed digestives. I blitzed them to a fine crumb in a food processor. You could also pop them into a food-safe bag and give them a good whack with a rolling pin.
Once your biscuits resemble fine crumbs either add the butter to the processor and pulse until the crumbs resemble wet sand or mix together the butter and biscuits in a large bowl.
For this part you can use either unsalted butter or a baking spread like Stork, both work perfectly well.
I found the easiest way to get the Biscuits into my tart tin was by dumping the whole lot in the middle of the tin, then radially working my way around the edges pushing the biscuits into the side. Any leftover biscuits I then pressed into the base.
There isn’t really a correct way to do this. This is just my preferred method.
Related Recipes
Add the lemon curd to a bowl and add some green food colouring. I used a mixture of colour mill and ProGel to get my shade of green. You might find it takes a few more drops of colouring than you would normally use but the yellow lemon curd should turn a slimy shade of green.
Spread it onto the base of your tart tin and leave it to one side. As I have said I used lemon curd for the slime, but you could use any flavour of curd you fancy.
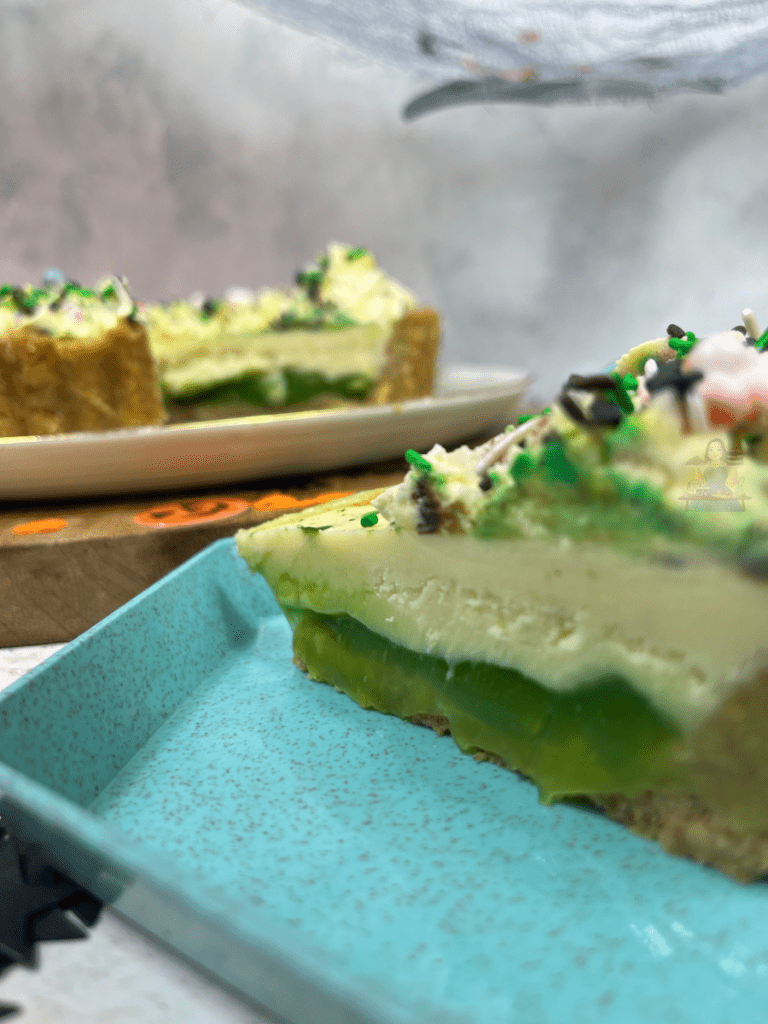
For the topping, I melted white chocolate and double cream together and poured them over the top. The reason I added in double cream was so that the chocolate wouldn’t set too firm.
I decided on white chocolate over milk or dark as I thought it paired better with the lemon curd filling.
The tart then needs to be set in the fridge. This can take 3-4 hours, but you want the chocolate to be completely set.
How to remove the tart from the tart tin?
The easiest way I find to get the tart back out of the tart tin is by placing your tart tin on top of a round object like a tin can or a glass tumbler.
Gently wiggle the sides of the tin until they loosen then slide the side of the tin downward. You should now have the sides of your tin on the workbench and your free tart sitting on top of a glass or tin can.
With pretty much all of my bakes, I use loose-bottomed tins. They are just so much easier to get the bakes out of at the end.
Decorating the Slime Tart
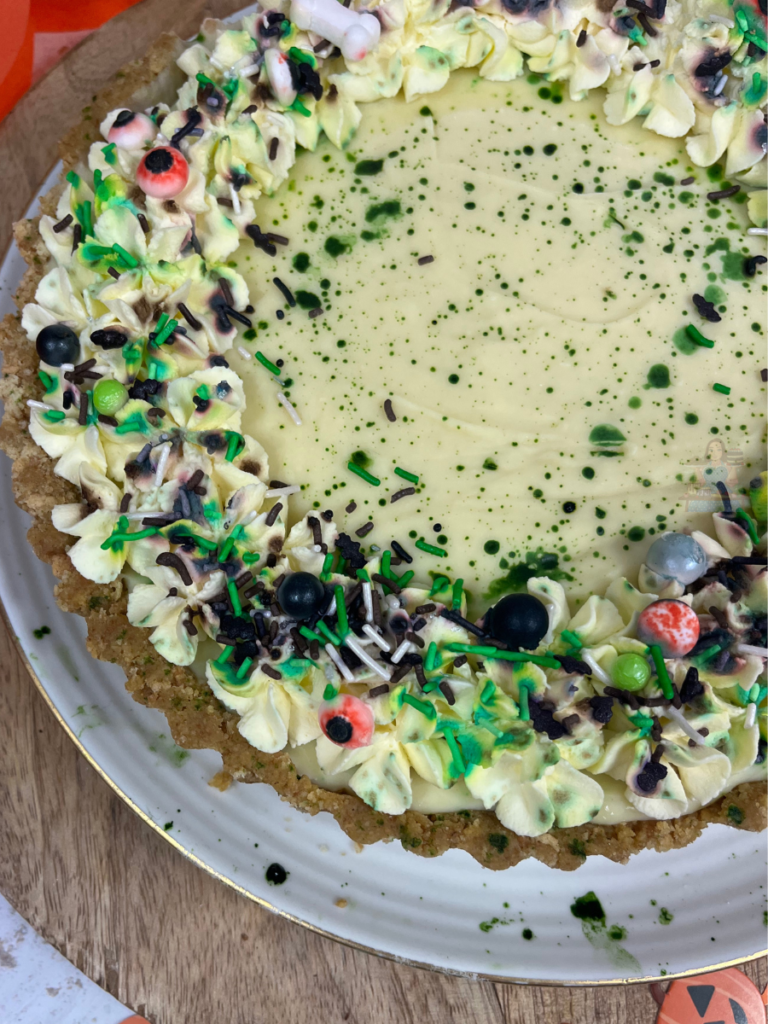
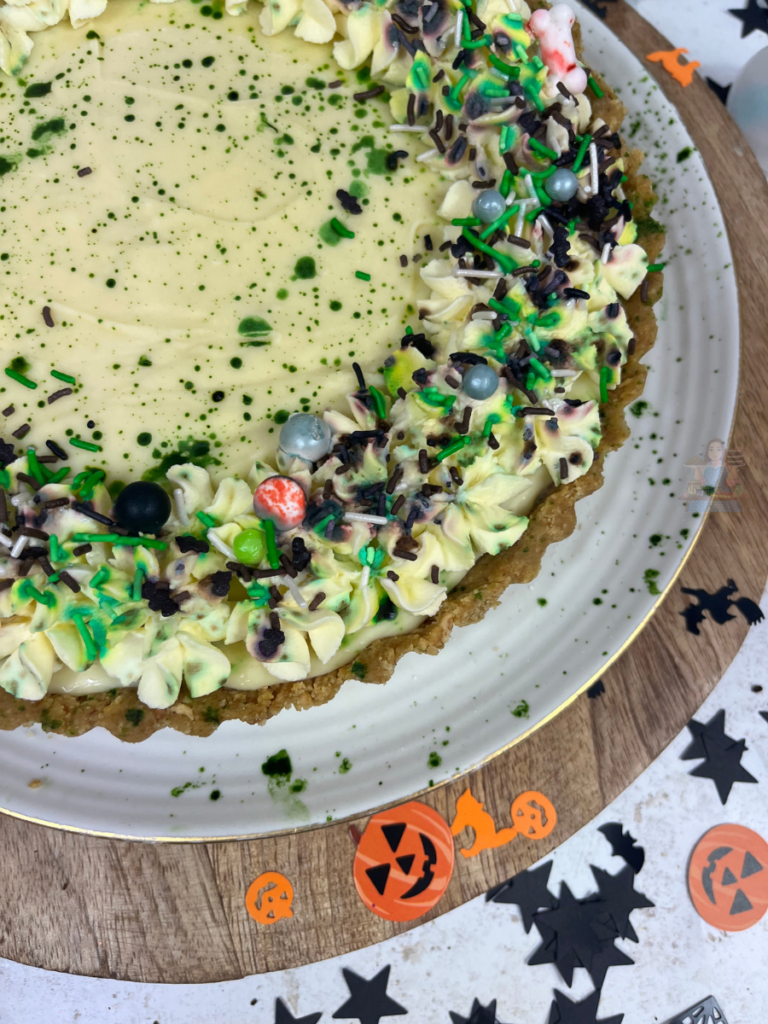
The decoration is completely up to you. I decided to whip up some double cream until it reached stiff peaks and pipe it around the edge of the tart.
To make the green spatters I mixed green food colouring with a small amount of vodka and using a food brush flicked it onto the tart to create the spatter effect. I finished it off with some Halloween-themed sprinkles from Fancy Sprinkles.
Alternatives
This recipe is completely customisable. You can use any biscuits on the base just remember thought if you are using a biscuit with a chocolate coating or filling then you will need to reduce the butter by 25g.
The slime can also be made using any flavoured curd you fancy or you could make my homemade caramel.
You can have as much fun with the decoration as you want. Let your imagination run wild.
Equipment
*I earn a small amount of money if you buy any of these products. You will not be charged anything extra for this. Thank you for supporting A Spoonful of Vanilla.
Pin it for later!
If you do have any questions about this Slime Tart or any other recipes on my blog you can contact me either by sending me a DM on social media or an email. You can find all my details on the left-hand side of this page.

Slime Tart
Ingredients
For the Biscuit Base
- 350 g Digestive Biscuits
- 175 g Unsalted Butter or Stork
For the Slime Tart
- 300 g Lemon Curd
- Green Food Colouring
- 300 g White Chocolate
- 150 g Double Cream
To Decorate
- 300 ml Double Cream
- 1/2 tsp Vodka
- Green Food Colouring
- Sprinkles
Instructions
To Make the Biscuit Base
- Crush your biscuits into small crumbs. I used a food processor but you could put them in a food bag and crush them with a rolling pin.
- Once they are completely crushed add the butter to the food processor and pulse until the biscuits resemble wet sand. Alternatively, you could add your crushed biscuits to a bowl and add your butter mixture.
- Pour the mixture into your tin and press into the base and sides.
To Make the Slime Tart Filling
- Add the lemon curd into a bowl and add a small amount of green food colouring and mix, until you reach the desired colour.
- Pour the lemon curd over the top of your biscuit base and spread out until even.
- In a heatproof bowl add your double cream and melt in the microwave on 20-second bursts until it is just about to start boiling. Alternatively, you can heat the cream in a saucepan on a medium heat. You will know it is ready as there should be small bubbles around the edge of the bowl/pan.
- Pour the cream over the top of your chocolate and leave for 2-3 minutes, the heat of the cream should melt the chocolate.
- Stir the chocolate mixture until it is completely incorporated and smooth. If there are still little lumps of chocolate put the entire mixture back into the microwave on 10-second bursts until it is completely smooth.
- Pour the mixture into your tart tin. Pop it into the fridge for 4-5 hours or until the chocolate has completely set.
To Decorate
- Remove your tart from the tin and place it on your serving plate.
- Add the vodka to a bowl with a little green food colouring and mix. Using a food brush flick it over the tart. This will create the spatter effect over the top of your tart.
- Whip the double cream until it reaches stiff peaks and pipe it onto the top of your tart
- Finish off with some spooky sprinkles and enjoy!
Notes
- This Tart should last 3-4 days in the fridge.