
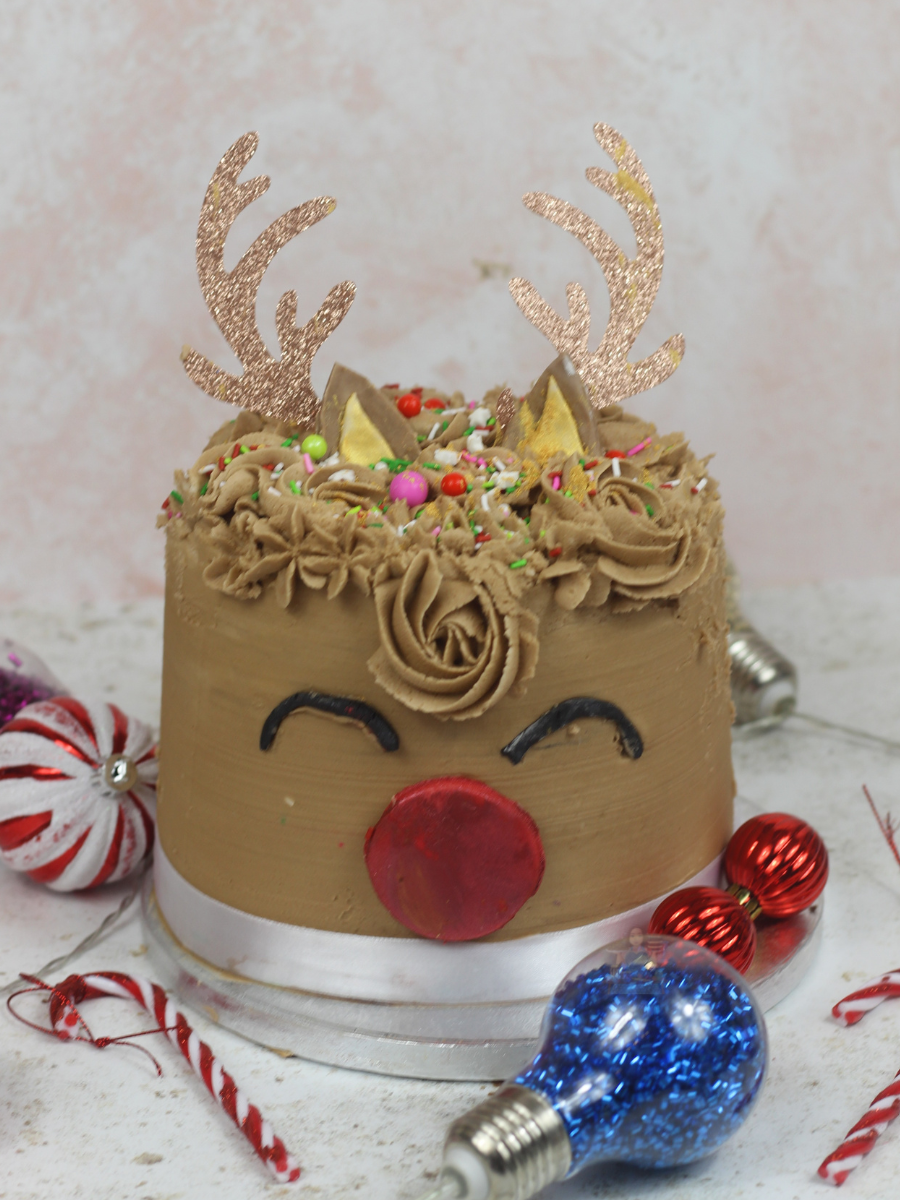
Rudolph Cake
This Rudolph Cake has a vanilla cake, vanilla buttercream and is decorated to look like the cutest Rudolph ever!
Isn’t this Rudolph Cake just the sweetest thing you have ever seen? I mean just look at him.
Although the recipe and method for this cake are the same as previous Vanilla Cakes on my blog the slight difference with Rudolph is that he is baked in a 6” round cake tin rather than my usual 8” round cake tin.
Of course, you can use an 8” cake tin if you prefer just to head down to the Alternatives section for the ingredient amounts.
Jump to Recipe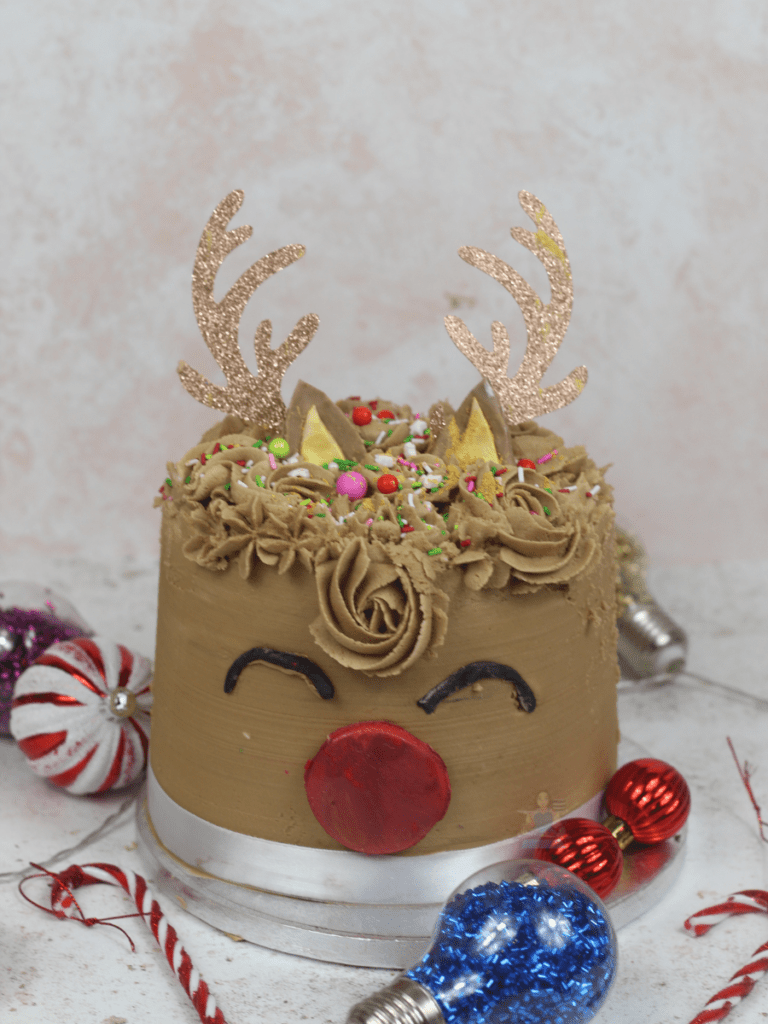
Rudolph Cake
As always when I am making a cake, I started by creaming together the butter and sugar. For this cake, I used caster sugar and a baking spread. If you wanted to make it slightly differently you could use light brown or even dark brown sugar instead of the caster sugar.
You can also use unsalted butter instead of a baking spread like Stork. Either will work perfectly for this cake.
When you are making this cake, you can use either branded or unbranded self-raising flour. I have read a lot lately that people don’t want to use unbranded self-raising flour as they think that the cake won’t rise as well.
Related Recipes
Rudolph Millionaire Shortbread
I have used both branded and unbranded flour and I must admit I haven’t noticed a difference in the rise of a cake.
Self-raising flour is called self-raising as it is mixed with baking powder. I still add baking powder in just to be sure that the cake has a good rise but regardless of what brand of self-raising flour you use, they will all have a raising agent in them.
I base the number of eggs I use in a recipe on the amount of sugar I use. It is a bit of a weird one but hear me out. For every 50g of sugar I use in a recipe I will use 1 large egg. In this recipe, I used 350g of sugar, so I used 7 large eggs.
Split the mixture equally between 2 6” cake tins. I used these cake tins and once the cakes were baked, I split them both in half to create four cake layers.
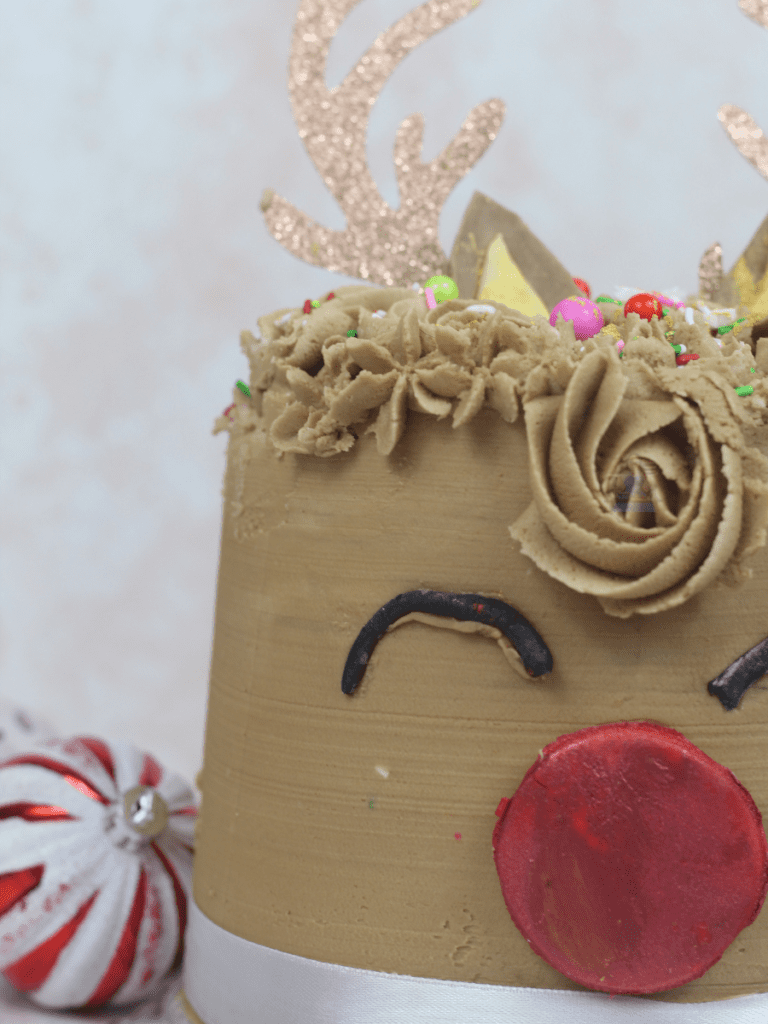
Baking the Cakes
Because these cake tins are slightly smaller and deeper you will need to bake them for longer and on a lower heat.
You will know the cakes are baked when they are golden brown in colour. If you use a cake tester to test the thickest part of the cake the skewer should come out clean. If there is still cake batter on the skewer, then the cake isn’t ready yet. Pop it back into the oven for 3-4 minutes and repeat.
Another way to test the cake is baked, gently press down with the tip of your finger. If the cake springs back to its original position when you remove your finger, it is ready. If there is a slight dent in the cake, it’s not quite ready. Pop it back into the oven for 3-4 minutes and repeat.
Leave the cakes to cool in the tin for 15-20 minutes before moving them onto a wire rack to cool fully.
If your cakes are slightly domed put them down upside down on the wire rack to cool. The weight of the cake will help flatten the top of the cake.
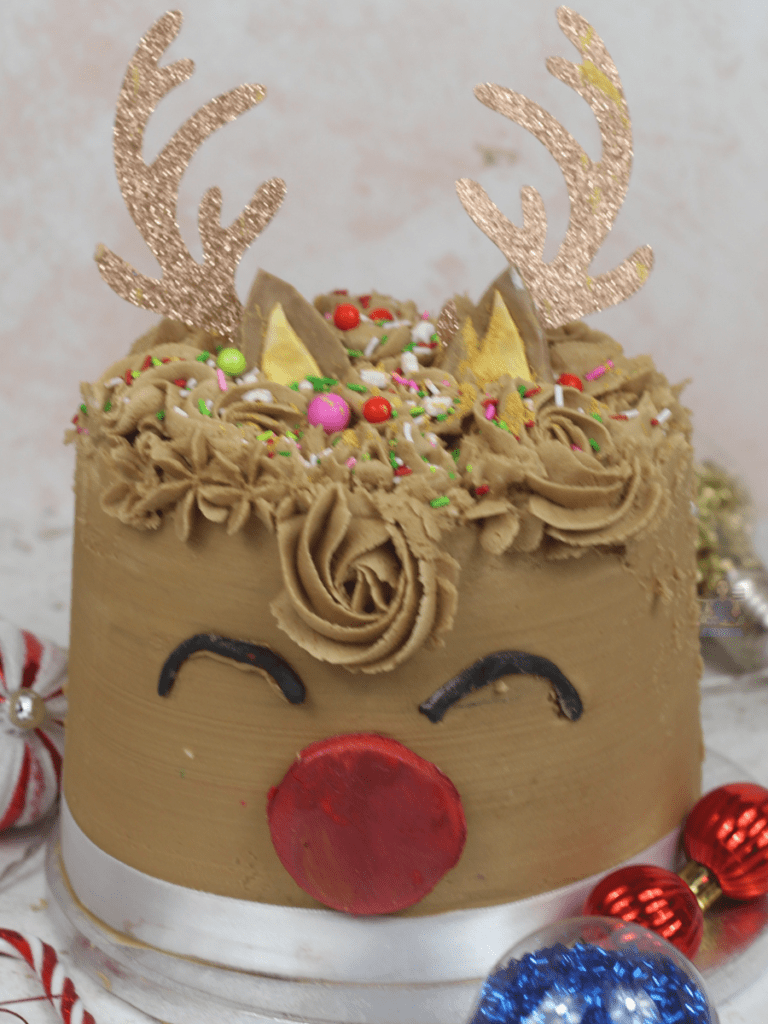
Rudolph’s Features
While the cakes were cooling, I made Rudolph’s features. The glitter antlers I got from Iced Jems. I then made the eyes, nose and ears.
For the nose and ears, I used white fondant, but you could use coloured if you prefer. For the ears, I added brown food colouring and mixed it into the fondant. I cut out two triangles and painted a smaller triangle in the centre of them using edible paint.
To make the ears the perfect shape I curved the bottom of the triangle inwards slightly.
Rudolph’s nose was slightly easier to make. I cut out a circle using a small circle cookie cutter and dusted it with Ruby lustre powder to make it lovely, red and shiny.
Rudolph’s eyes, I made from black fondant that I cut and rolled into a small, thin sausage. I then shaped them into rough semi-circles and left them to one side.
With all the fondant pieces, it is best to make them early and leave them on one side to dry out slightly. This just makes it easier to stick them to the cake later.

Vanilla Buttercream
Once the cake has cooled completely you can start making the buttercream. I went for a simple Vanilla Buttercream, but you could add extracts or flavourings.
For the buttercream, you MUST use unsalted butter rather than a baking spread like Stork. You want the buttercream to be thick and hold its own shape. If you use a baking spread the buttercream will be super sweet and won’t hold its own shape, it will just slide off the side of your cakes.
Add the brown food colouring a little at a time and beat it into your buttercream. You want to gradually build the colour up, if you add too much, to begin with then you are stuck with that colour. Building the colour up slowly gives you more control over the final colour.

Putting it all together
Once your cakes have cooled and your buttercream is ready, split each individual cake into two separate cakes. So, you should have four layers altogether.
Place the first cake onto your serving plate or cake board and spread the buttercream on top. Don’t worry if it splodges out the side slightly. Repeat until all your cakes are stacked.
Go around the side of your cake with your palette knife and smooth any buttercream that has splodged out the side. Add a thin layer of buttercream and smooth it into the side of the cake. This is your crumb coat.
The crumb coat is a thin layer of buttercream that helps stick all the crumbs down. When you put the second layer of buttercream onto the cake, it will be super smooth.
It would be best if you left the crumb coat to set, the best way to do this is to pop it into the fridge for around an hour until the buttercream hardens.
Once your crumb coat has set, spread the buttercream onto the side of the cake and smooth using your cake smoother.
If there are any gaps in the buttercream fill these and smooth again. Repeat until the sides are completely covered and smooth.
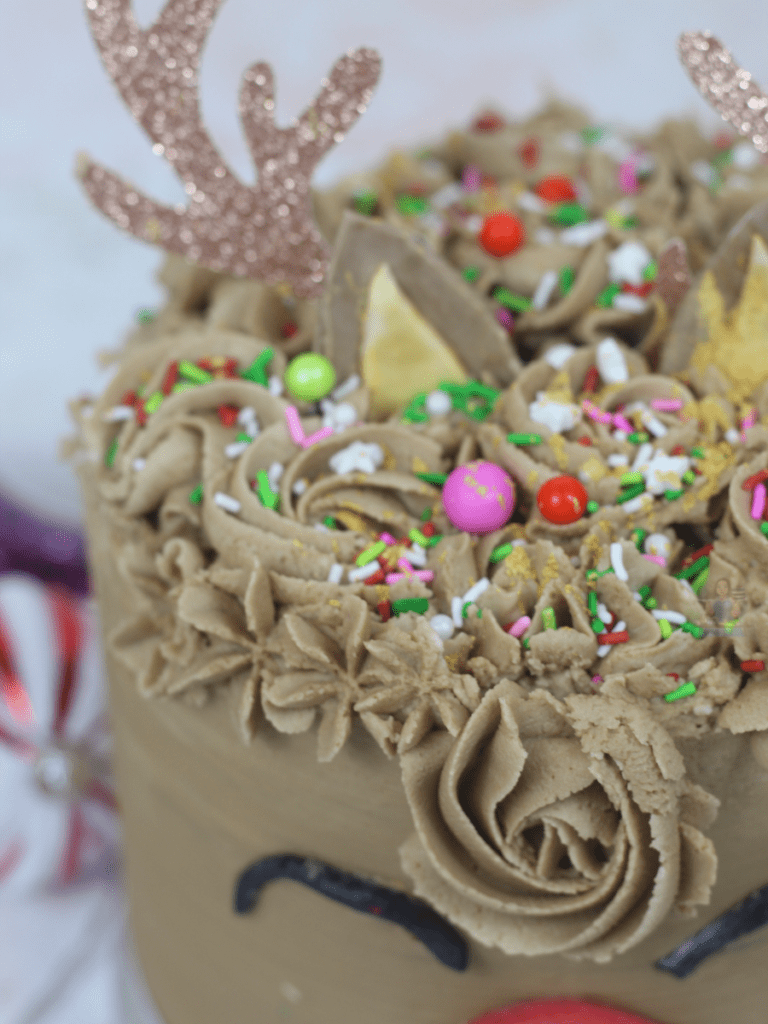
Pop the buttercream into a piping bag with a 2D Star Nozzle and have fun piping onto the top of the cake.
Sprinkle over some festive sprinkles and add your reindeer features to the front and top of your cake. You could even flick some gold paint over the top of the cake.
Alternatives
If you want to make this in an 8″ cake tin. I would increase the amounts of sugar, flour and butter to 425g and use 8 large eggs. For the buttercream I would increase this to 600g of Unsalted Butter and 1200g Icing Sugar.
Have fun when decorating this cake. Let your imagination run wild, especially when piping onto the top of the cake.
Equipment
*I earn a small amount of money if you buy any of these products. You will not be charged anything extra for this. Thank you for supporting A Spoonful of Vanilla.
Pin it For Later!
If you do have any questions about this Rudolph Cake or any other recipes on my blog you can contact me either by sending me a DM on social media or an email. You can find all my details on the left-hand side of this page.
Rudolph Cake
Ingredients
For the Cake
- 350 g Unsalted Butter or Stork
- 350 g Caster Sugar
- 350 g Self-Raising Flour
- 7 Large Eggs
- 1 tsp Vanilla Extract
- 1 tsp Baking Powder
For the Buttercream
- 500 g Unsalted Butter
- 1 kg Icing Sugar
- 1 tsp Vanilla Extract
- 3-4 tbsp Whole Milk (optional)
- Brown Food Colouring
For Rudolph Features
- 250 g White Fondant
- 250 g Black Fondant
- Brown Food Colouring
- Ruby Lustre Dust
Extras
- Sprinkles
- Antler Cake Topper
Instructions
To Make the Vanilla Cake
- Preheat the oven to 170C (150C Fan). Line two 6” cake tins with greaseproof paper and leave to one side.
- In a large bowl, whisk together the sugar and butter until light and fluffy.
- Add in the flour, eggs, baking powder and vanilla and whisk until all combined.
- Split the mixture between the two cake tins. You should have approximately 700g in each tin.
- Bake in the oven for 45-50 minutes. You will know they are ready when they are golden brown and springy to the touch.
- Leave them to cool in the cake tin for 15-20 minutes and then remove and put them on a wire rack to cool fully.
To Make Rudolphs Features
- Using a ping pong ball amount of white fondant, add the brown food colouring a little at a time and knead it into the fondant until it is the desired colour.
- Cut out too large triangles. Paint smaller triangles in the centre of the large triangles and gently curve the two bottom corners towards each other. Leave to one side.
- Using a small amount of fondant, approximately the size of a 50p roll it out and cut it into a circle using a small cookie cutter.
- Dust with Ruby Lustre Dust and leave to one side.
- Finally, take a small amount of black fondant, approximately the size of a pea and roll it between your hands into a long sausage shape. Repeat with a second piece of black fondant.
- Cut each to the same size, and shape it into a semi-circle shape. Leave to one side.
To Make the Buttercream
- Beat the butter for around 5-10 minutes until soft and pale in colour.
- Add in the icing sugar and vanilla extract and mix until completely combined. If you find the buttercream is too thick add a tablespoon of milk and mix again. Repeat until the buttercream is the desired consistency.
- Add the brown food colouring a little at a time. Mixing in between each addition until you reach the desired colour. You want the colour to be similar to the brown of the ears you have just made.
Putting it All Together
- Split each cake in half so you should have four cake layers in total.
- Place the first cake onto your cake board and spread the buttercream on top. Stack your next cake on top and spread over the buttercream. Repeat until the cake is fully stacked.
- Pipe or spread the buttercream onto the sides of the cake to fill in any gaps.
- Using your cake smoother smooth the sides of the cake. Don’t worry if you can see the cake through the buttercream, this is just the crumb coat. We will cover the cake soon.
- When there are no gaps in your cake pop it into the fridge until the buttercream has hardened.
- Once the buttercream has hardened, pipe the remaining buttercream around the sides of the cake
- Using your smoother, smooth around the sides, if there are any gaps fill these with the buttercream and continue to smooth around the sides until the cake is smooth. You will most likely take some of the buttercream off the cake if you do pop this back into your bowl, we will use this later.
- Add the eyes and nose to the front of Rudolph, they should have slightly dried out by now and be firmer to the touch.
- Add the remaining buttercream to a piping bag and pipe it onto the top of the cake. I did a mixture of swirls and drop flowers.
- Add on the antler topper, and Rudolph's ears should sit just in front of the topper. Finish with some sprinkles. You could also flick some gold paint over the top too.
Notes
- This cake will last 3+ days in an airtight container.