
Santa Hat Brownies
These Santa Hat Brownies are super cute and super festive. The chocolate brownie is filled with chocolate chips and decorated with vanilla buttercream.
I love how fun and cute these brownies are, I decided to make the brownie mixture quite simple and only added in chocolate chips as I wanted to focus more on the design on top.
Jump to Recipe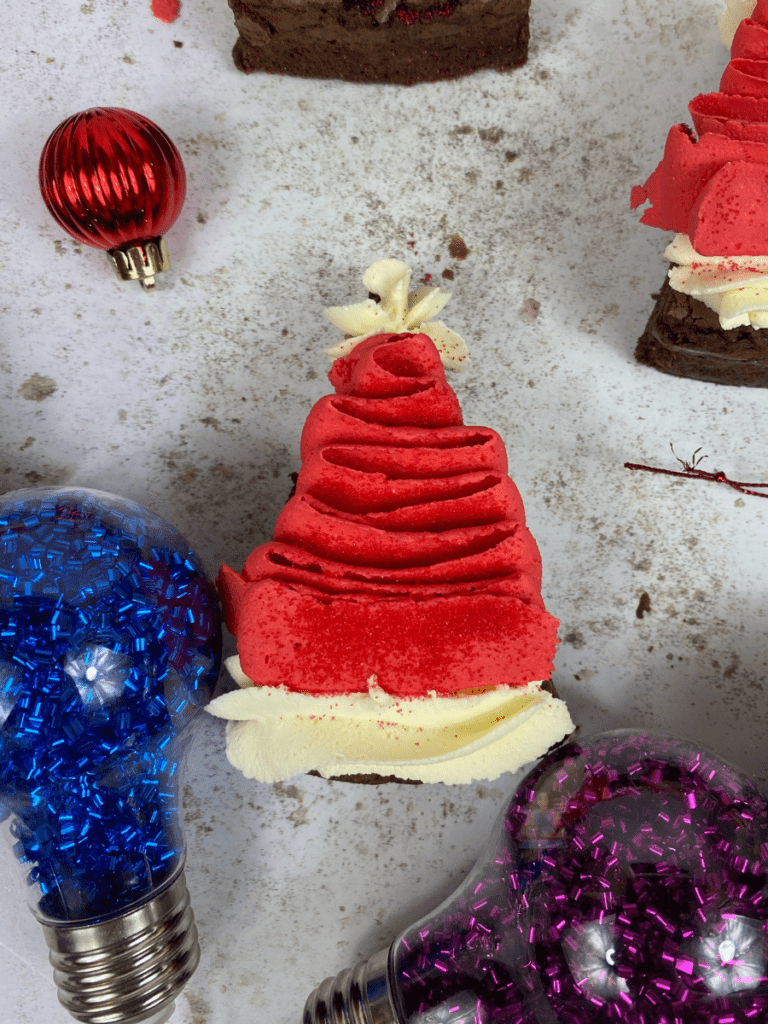
Santa Hat Brownies
The brownies are made by melting together dark chocolate and butter. The butter can either be unsalted butter or a baking spread like Stork, both work perfectly in this recipe.
You need to use dark chocolate when making brownies. Using milk chocolate won’t work in brownies, it MUST be dark chocolate.
Don’t worry if you don’t like dark chocolate, it won’t make the brownies taste bitter, but it does help give them a lovely deep, chocolatey flavour.
The easiest way to melt the chocolate and butter is in a heatproof bowl in the microwave. You could also add both ingredients to a large saucepan and melt on a low heat stirring continuously.
Related Recipes
Rudolph Millionaire Shortbread
In a separate bowl whisk together the eggs and light brown sugar until they have doubled in volume. This brownie recipe doesn’t use any raising agent like baking powder, so the rise comes from the air incorporated at this stage.
Once you have whisked the egg whites you won’t need to use a mixer again. All the ingredients from here should be folded by hand.
First the chocolate mixture. It might feel like it takes a little while to fully incorporate but stick with it. Everyone has their own different ways of folding the mixture. I prefer to go around the sides of my bowl using a spatula and fold the mixture in on itself, then cut through the centre of the mixture and fold the mixture outwards. Keep repeating until the mixture is lovely and chocolatey.
Add in the remaining ingredients and fold these through until the mixture is completely combined and smooth.
You can add chocolate chips into the recipe, if you prefer thicker chunks of chocolate then you can cut up a chocolate bar and add this into the mixture instead.
Baking the Brownies
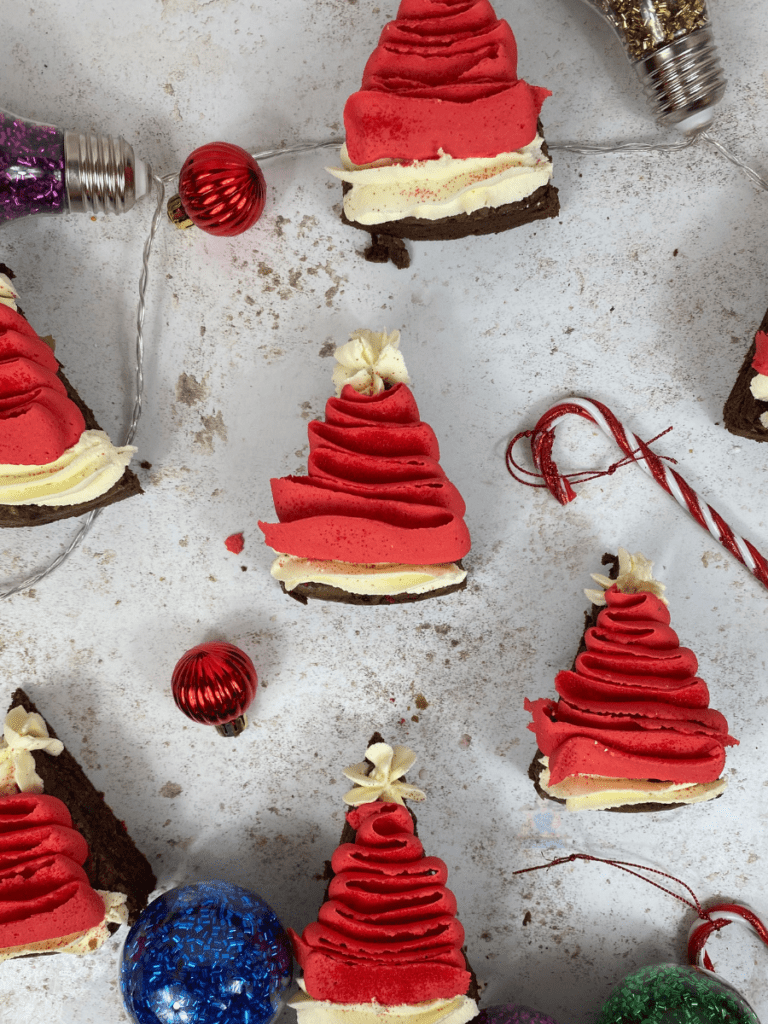
Unlike with previous brownie recipes, I baked these ones in two round 8” cake tins. I just found it so much easier to cut them into triangles compared with baking them in a traditional brownie tin. Of course, you can use either, whichever you find easiest to use.
Telling when brownies are baked can be pretty difficult because you want them to be soft and gooey in the centre.
I always go with how my brownies look when I remove them from the oven. They should look dry on top and have just the slightest wobble to them.
I wouldn’t recommend using a cake tester to test the centre of the brownie as it will come out with the batter on. This is what you want because you want the centre to be soft.
Decorating the Brownies
Once the brownies have cooled completely cut both brownies into eight equal triangle portions, so you should have 16 pieces altogether.
To make the buttercream, beat together the icing sugar and butter until it is soft, pale and creamy. You must use unsalted butter for the buttercream. If you use anything else, it will be sickly sweet and won’t hold its shape when you pipe it onto the brownies.
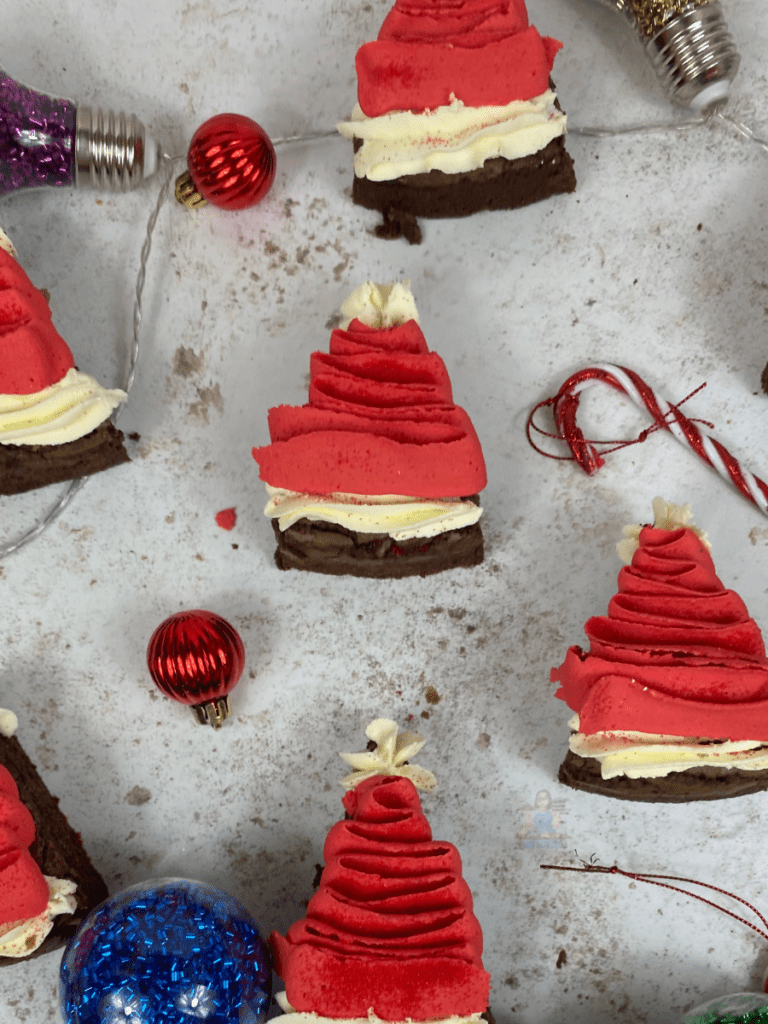
Remove 150g of the mixture and pop it into a piping bag with a 2D or 1M piping nozzle. For the remaining buttercream add red food colouring.
Red can be quite a tricky colour of food colouring to get. I would recommend using Sugarflair Red Extra, Colour Mill Red or ProGel Red. These are the three red food colourings I use that give the brightest and best red.
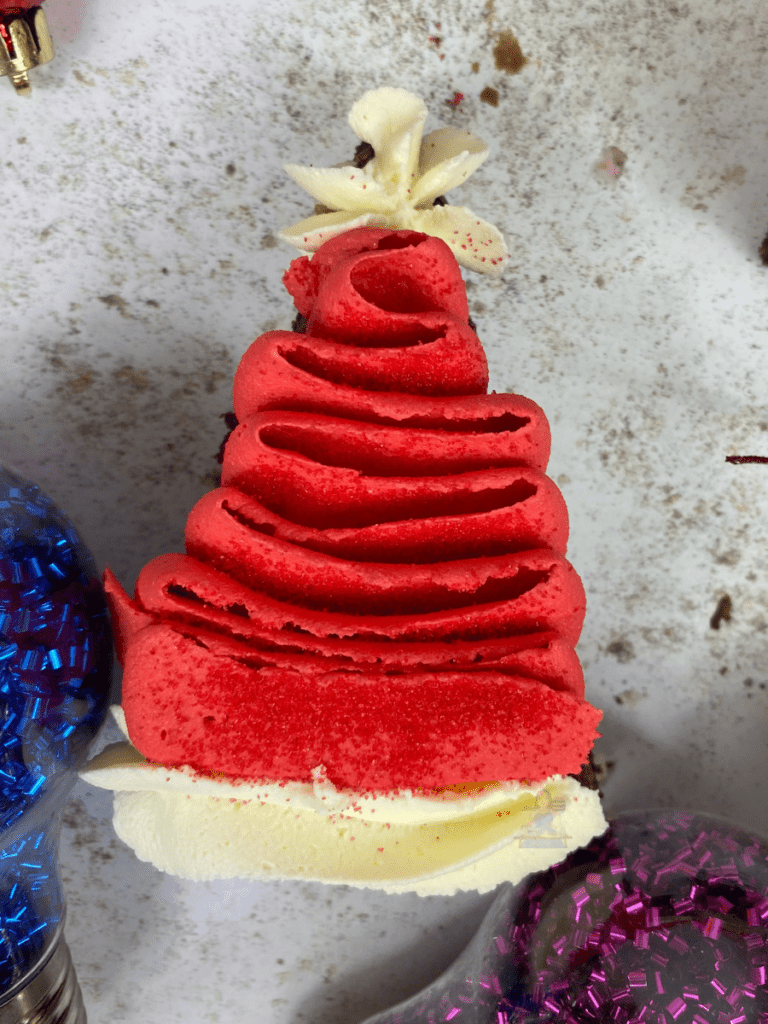
I piped a large star at the tip of the brownie and piped a straight line of white along the bottom edge. This is the fur on Santa’s hat. I then filled in the centre with red buttercream. You could use any piping tip you fancy for this but I used a large leaf piping tip as I love the effect it gives the brownies.
I sprinkled over some red sprinkles, you could also use some red glitter to finish them off.
Alternatives
If you would like to make these into Christmas Trees you can find my recipe HERE!
Have as much fun with the brownies as you want. I just decided to go for something simple but you could add 1tsp of extract to the mixture, why not add in some Peppermint?
You could also add in your favourite chocolate bar or biscuits just make sure they are cut into small chunks. Instead of adding chocolate chips.
Equipment
*I earn a small amount of money if you buy any of these products. You will not be charged anything extra for this. Thank you for supporting A Spoonful of Vanilla
Pin it For Later!
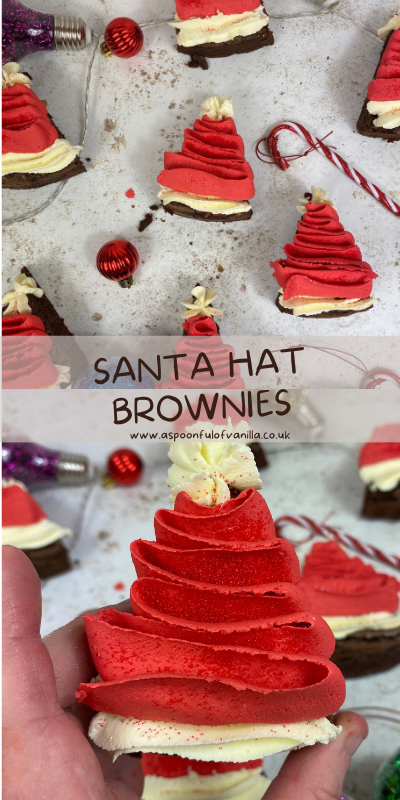
If you do have any questions about these Santa Hat Brownies or any other recipes on my blog you can contact me either by sending me a DM on social media or an email. You can find all my details on the left-hand side of this page.
Santa Hat Brownies
Ingredients
For the Brownies
- 225 g Unsalted Butter
- 225 g Dark Chocolate
- 4 Large Eggs
- 300 g Light Brown Sugar
- 125 g Plain Flour
- 300 g Chocolate Chips (optional)
For the Buttercream
- 400 g Icing Sugar
- 200 g Unsalted Butter
- 3-4 tbsp Whole Milk (optional)
- Red Food Colouring
Instructions
To Make The Brownies
- Preheat the oven to 180C (160C Fan) and line 2 8" round cake tins parchment paper.
- Melt together the chocolate and butter in 20-second bursts, stirring in between, until they are both completely melted and combined.
- Whisk the sugar and eggs together until they have doubled in volume.
- Pour the chocolate mixture into the egg mixture and fold them together. You need to be gentle during the stage because you don’t want to knock all the air out of your eggs.
- Add in the flour and fold until they are completely combined.
- Finally, add in the chocolate chips and fold these through until they are evenly distributed.
- Split the mixture between your two tins and bake in the oven for 30-35 minutes. You will know they are ready because they will have a slight wobble and look dry on top.
- Leave to cool completely in the tin.
To Decorate
- Once the brownies are completely cooled cut them into triangles. Leave to one side.
- In a bowl beat together the icing sugar and butter until it forms a thick and creamy buttercream.
- If it is too thick add 1 tbsp of milk and mix again. Repeat until the buttercream is the desired consistency.
- Remove 150g of buttercream and pop it into a piping bag with a 2D Piping Tip. Leave to one side.
- Add in the red food colouring a little at a time to the remaining buttercream, mixing in between each addition until you reach your preferred colour.
- Pipe the white buttercream onto the tip and along the bottom of the brownies. Fill in the centre with red buttercream.
Notes
- These Santa Hat Brownies will last 5+ days in the fridge.