
Chocolate Lava Dessert
This Chocolate Lava dessert is the perfect dessert idea for Valentine’s Day. It has a rich and chocolatey dessert with a soft lava centre.
I have wanted to create a classic dessert recipe for a while now and what better time to do it than for Valentine’s Day.
These Chocolate Lava Puddings are the perfect dessert for a romantic Valentine’s dinner, whether you are celebrating with your partner, friends or family.
Reasons To Love This Recipe
Chocolate Dessert – If you love chocolate then this dessert is for you. The cake mixture for this is thick, gloopy, utterly rich and delicious.
Can be made in advance – One of the great things about this recipe is that it can be made a day in advance and kept in the fridge or a few weeks in advance and kept in the freezer until ready to bake.
For 2 – What better time than Valentine’s Day for a dessert for 2, but it is easy enough to double up if you want to make it for 4.
Chocolate Lava Dessert
I wasn’t 100% sure what the official name for this dessert was, or even if it had one. Some call them chocolate lava dessert others call it chocolate molten dessert. It is basically the most epic and heavenly dessert ever.
Related Recipes
Chocolate & Salted Caramel Tart
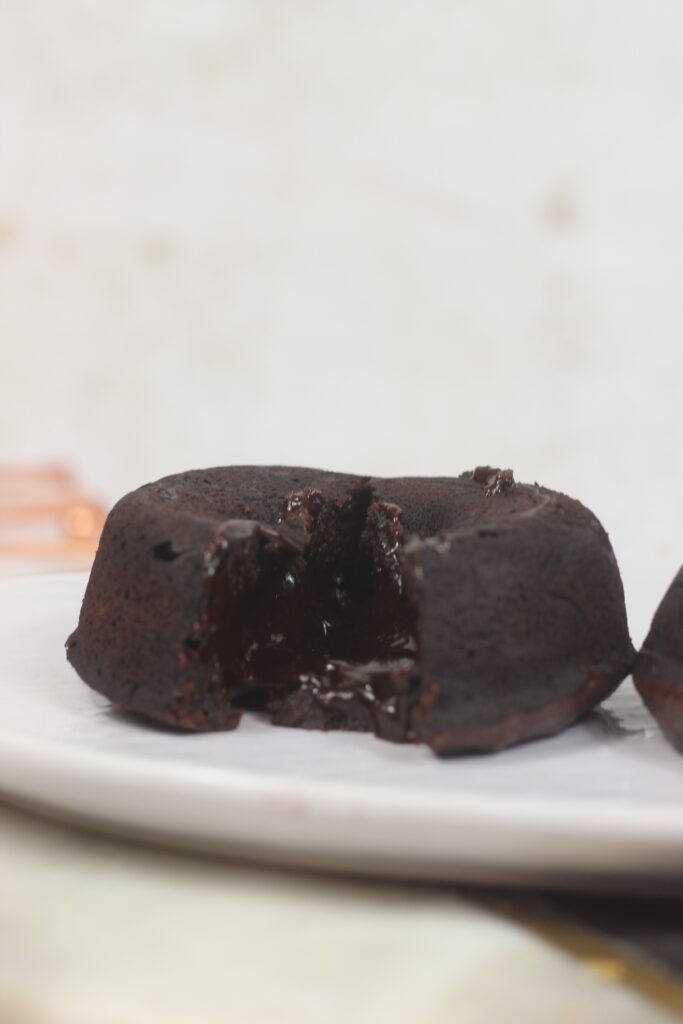
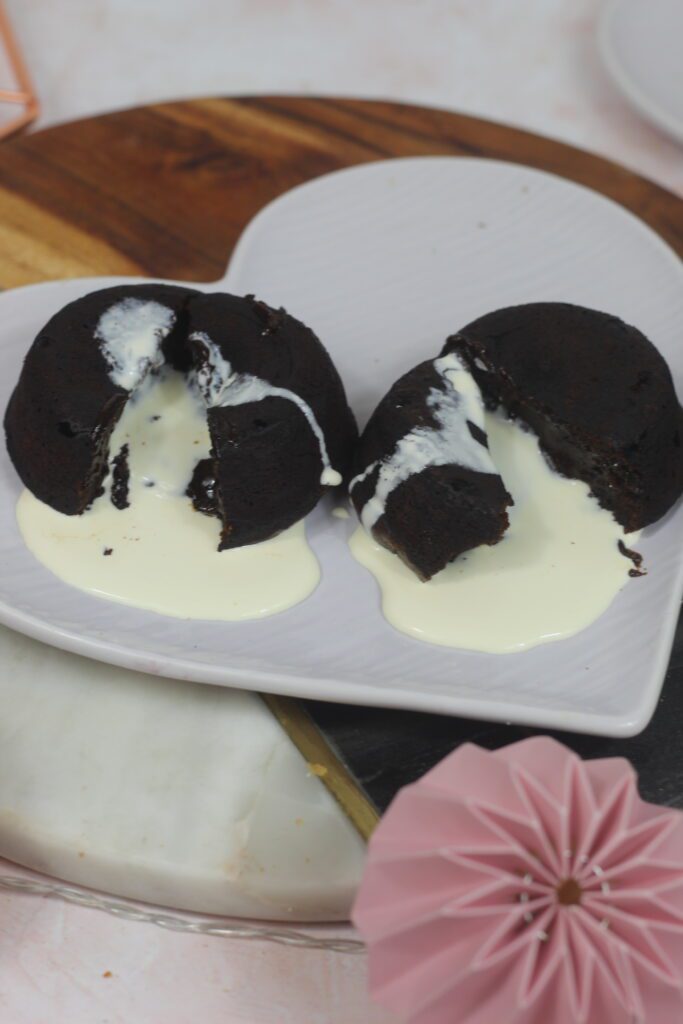
On the outside it looks like a simple baked chocolate cake, however, when you cut or bite into it you are greeted with the most delicious chocolate lava.
It is such a simple recipe to make and is somewhere between a chocolate cake and chocolate brownies.
Before You Start Baking
If you are preparing and baking these recipes to be eaten straight away start by preheating your oven.
Another thing I do at this stage is to lightly grease my pudding moulds. This way the desserts shouldn’t stick to the moulds. I find the best way to do this is by lightly greasing the moulds with a baking spread like Stork, make sure you get into any corners.
Once you have lightly greased it, I placed a teaspoon of cocoa powder into the moulds and coated the sides and bottom with cocoa powder.
To Make the Chocolate Lava Desserts
Similar to if you were making a brownie recipe you need to melt together the chocolate and butter. The easiest way to do this is in a large heatproof bowl in the microwave, on 20-second bursts until it is completely melted. Remember and stir it in-between each burst so it doesn’t burn.
Add in the remaining ingredients and mix together until they are completely incorporated. The mixture should be quite thick and gloopy.
I used light brown sugar in this recipe as it gives a lovely caramelly hint to the desserts. If you prefer though you can use caster sugar instead.
For this dessert, you can use either unsalted butter or stork. I used stork as I find it made the desserts lighter but it is completely up to you.
Split it between your two pudding moulds and if baking now pop them into the oven. The easiest way I found to do this was to put them on an oven tray so that they don’t spill or fall over.
Do I Need to Bake them Now?
No, you don’t. That is one of the great things about this recipe. Once you have split them between their moulds you can cover them with clingfilm and either pop them into the fridge where they will stay good for 24 hours. Or you can put them into the freezer for around three months.
How Do I Know They Are Ready?
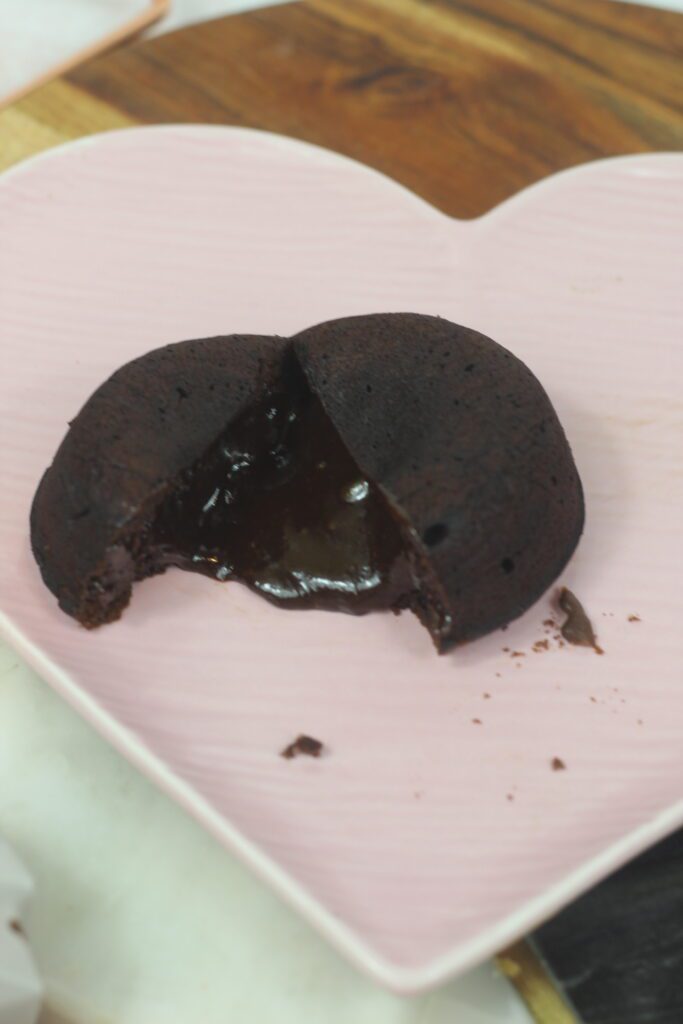
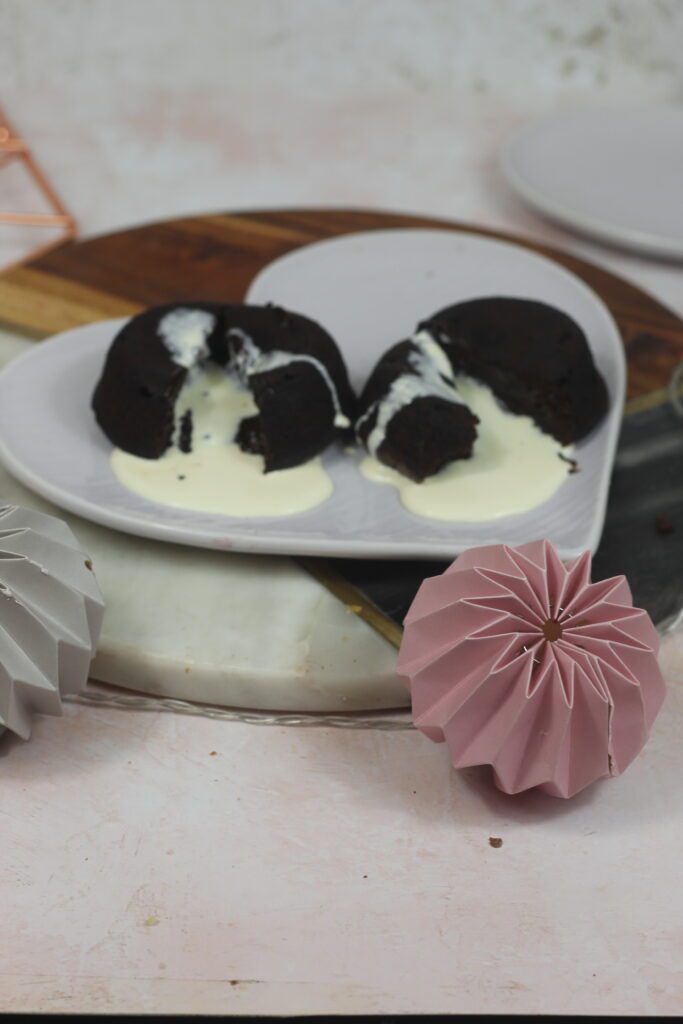
They are baked when the top of the dessert looks cakey. So, it just looks like a normal baked chocolate cake, however, if you give them a gentle shake the middle should still be runny.
If you have frozen them, they might take slightly longer to bake.
Do I Need to Eat Them Straight Away?
Yes! So, you need to eat these straight from the oven. Well, I would maybe give them 5-10 minutes to cool down slightly before eating them.
The problem is that they continue to bake after they have been removed from the oven. So, if you leave them you will end up with a chocolate dessert with no lava centre.
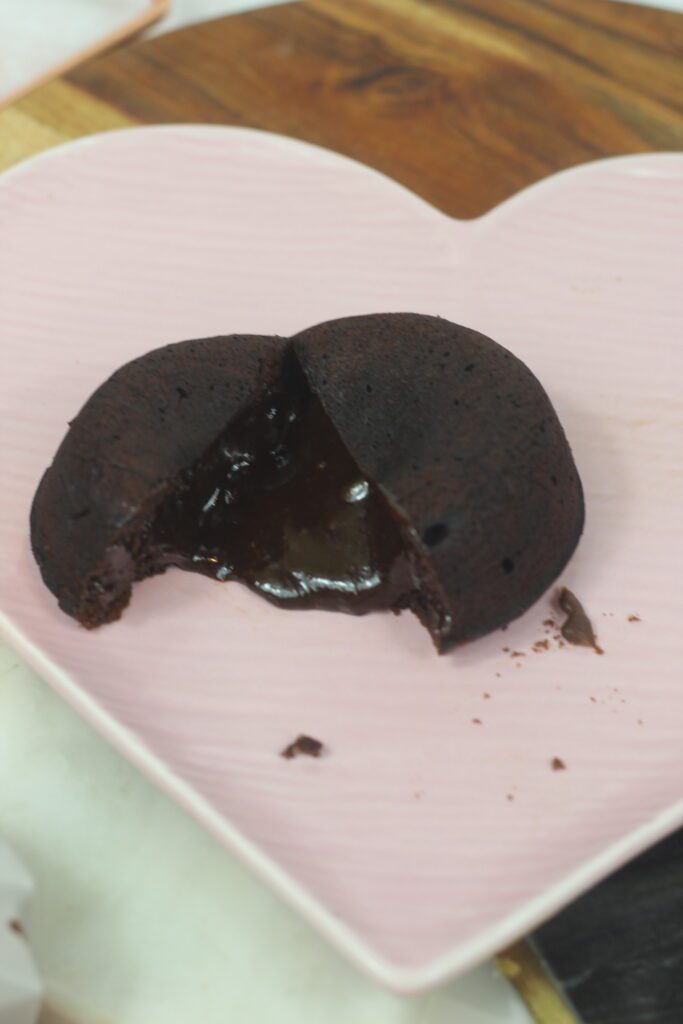
How Do I Get Them Out of the Moulds?
The easiest way to get them out of the moulds is to run a sharp knife around the base of the pudding just to loosen it from the mould. And then turn it out onto your serving plate.
Alternatives
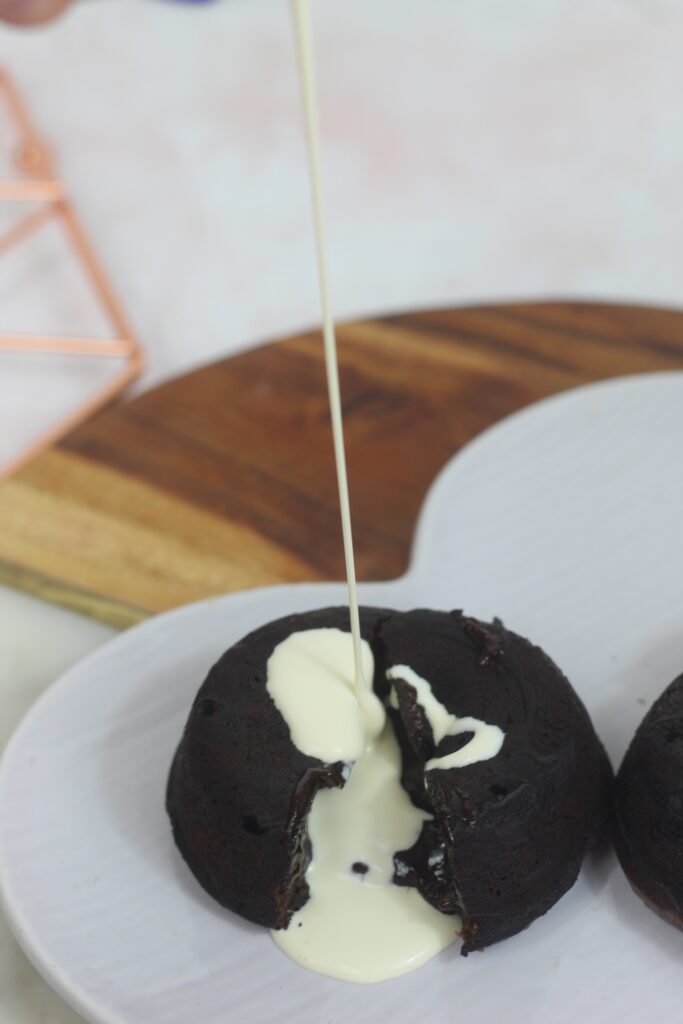
Why not try serving these with fresh fruit instead of cream.
Equipment
Pin it For Later!
If you do have any questions about these Chocolate Lava Cakes or any other recipes on my blog you can contact me either by sending me a DM on social media or an email. You can find all my details on the right-hand side of this page.
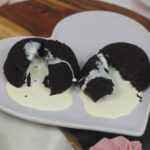
Chocolate Lava Desserts
Ingredients
To Make the Chocolate Lava Desserts
- 50 g Unsalted Butter or Stork
- 50 g Dark Chocolate
- 40 g Light Brown Sugar
- 2 Large Eggs
- 1 tsp Vanilla Extract
- 50 g Plain Flour
Instructions
To Make the Chocolate Lava Desserts
- Preheat the oven to 180C/160 Fan. Grease your pudding moulds. Add a teaspoon of cocoa powder to each one to coat the sides and bottom of the mould. Leave to one side.
- Add the chocolate and butter to a heatproof bowl and melt in the microwave on 20-second bursts, stirring in between each burst until completley melted and smooth.
- Add in the remaining ingredients and mix until completley combined. The mixture should be quite thick and gloopy.
- Split the mixture between the two moulds. You can now cover them in cling film and pop them into the fridge where they will be good for 24 hours. Or in the freezer until you are ready to use them.
- If you are baking them now, place the pudding moulds onto an oven tray and bake in the oven for 14-16 minutes (if you have previously frozen them it might take up to 20 minutes)
- You will know they are ready because the tops will be firm to touch but the centre shoudl still be soft.
- Using a knife carefully go around the bottom of the desserts to loosen them before turning them out onto your serving plate.
Oh these look amazing!
thank you!