
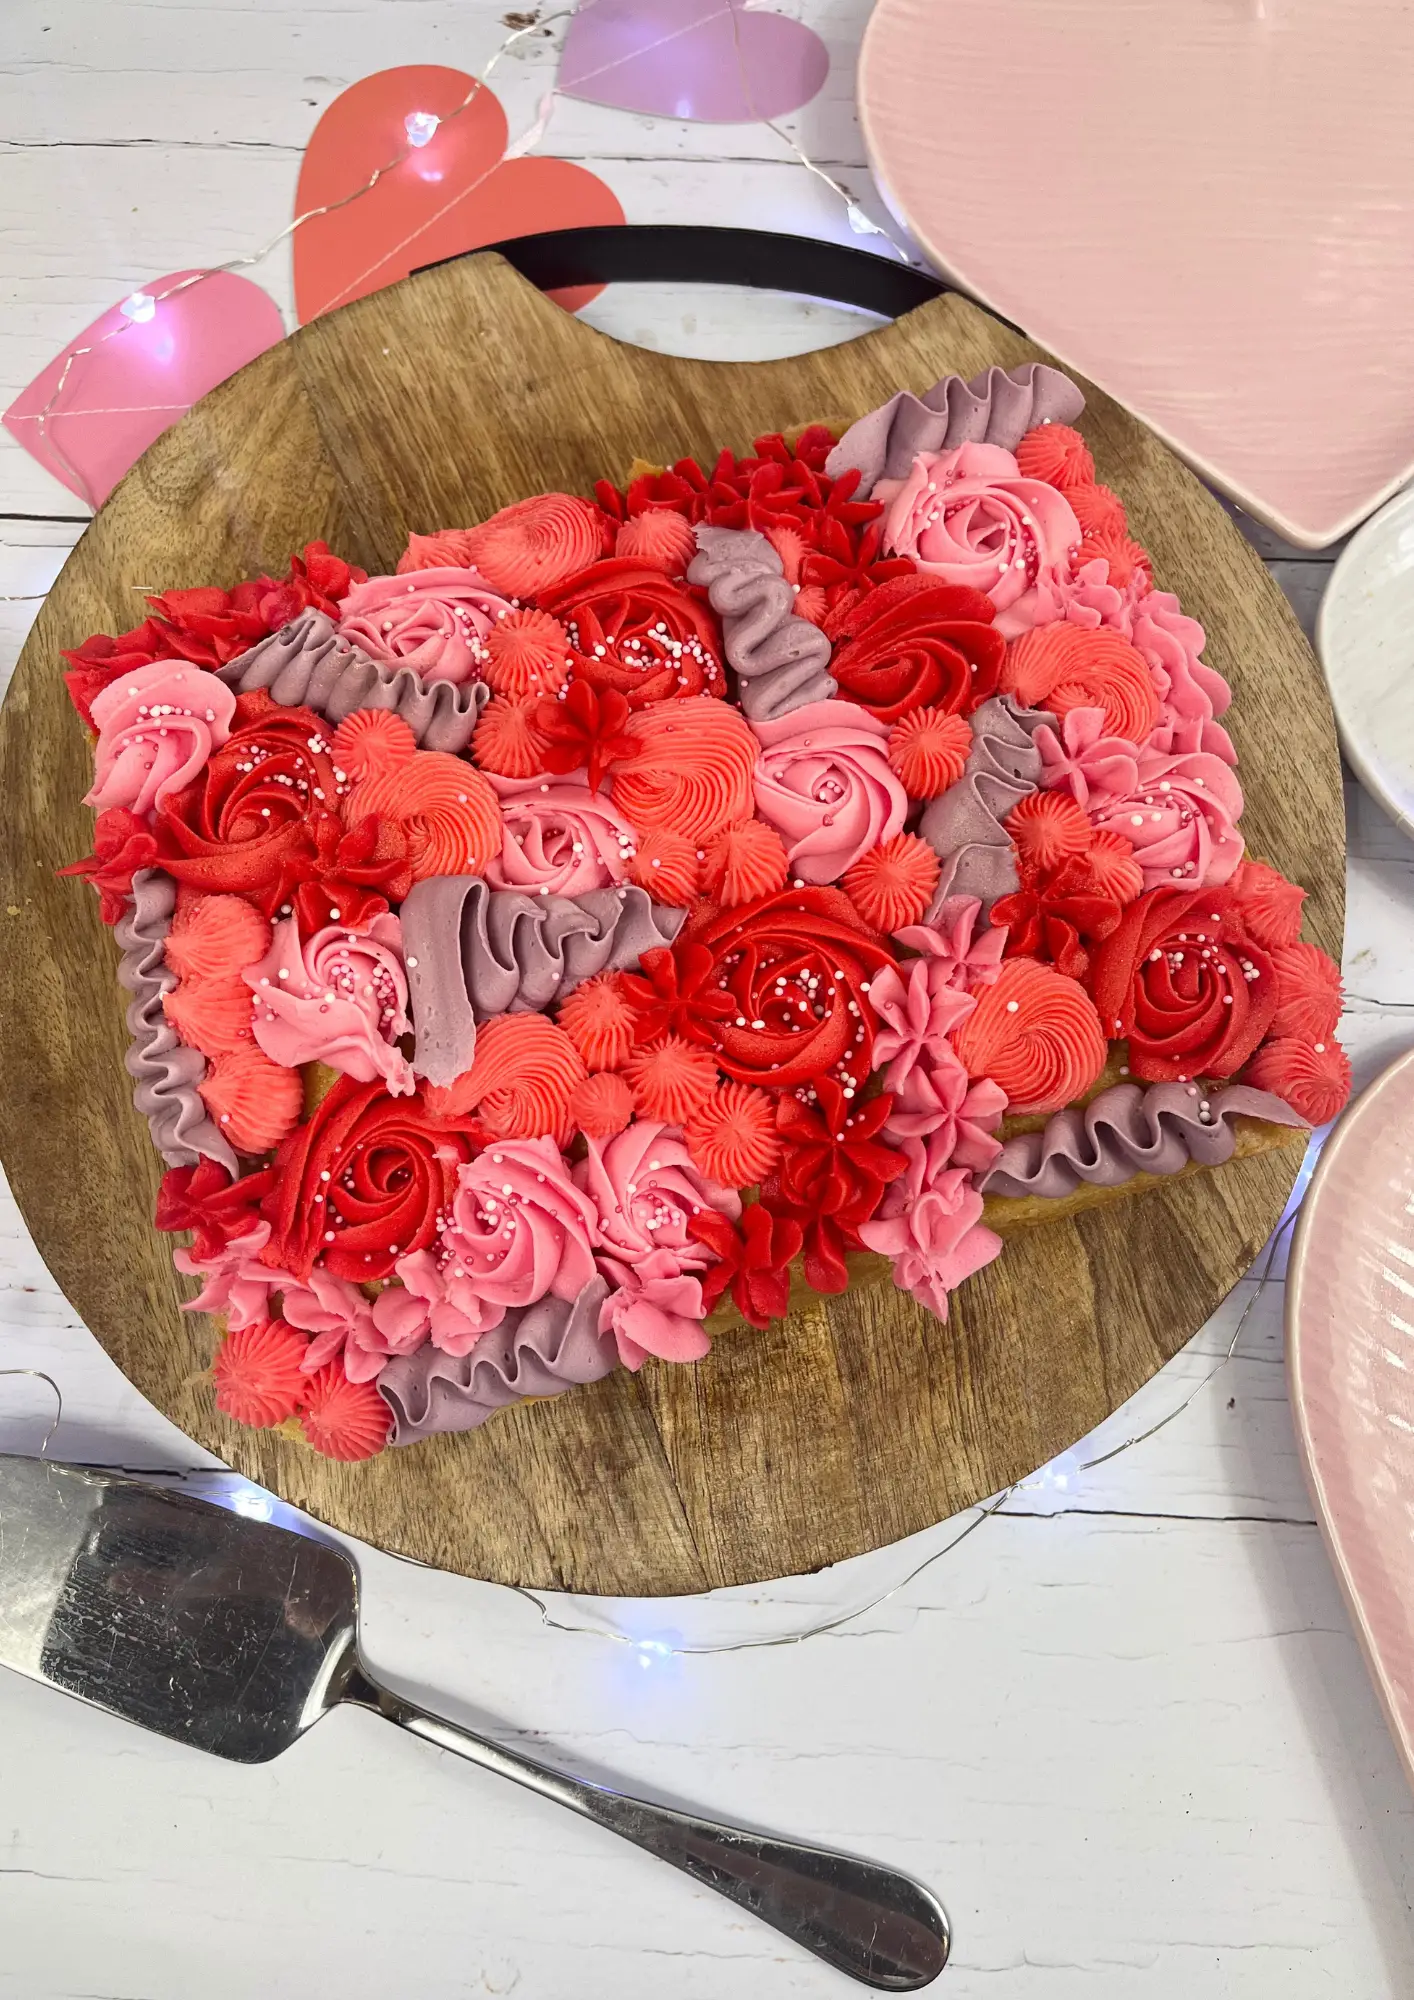
Valentine’s Day Traybake
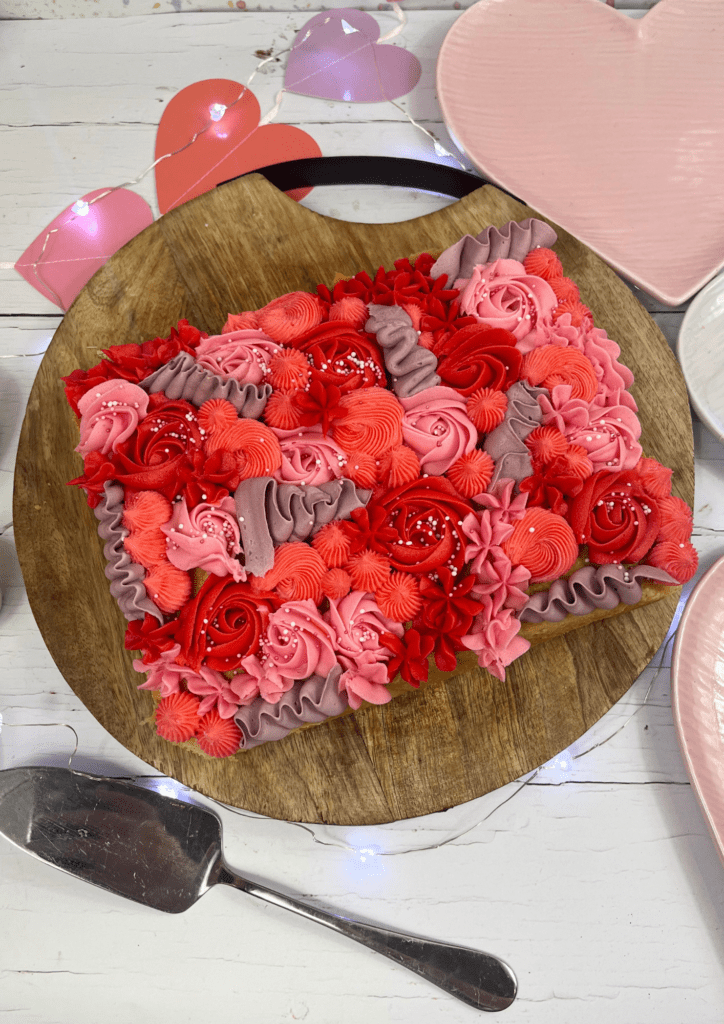
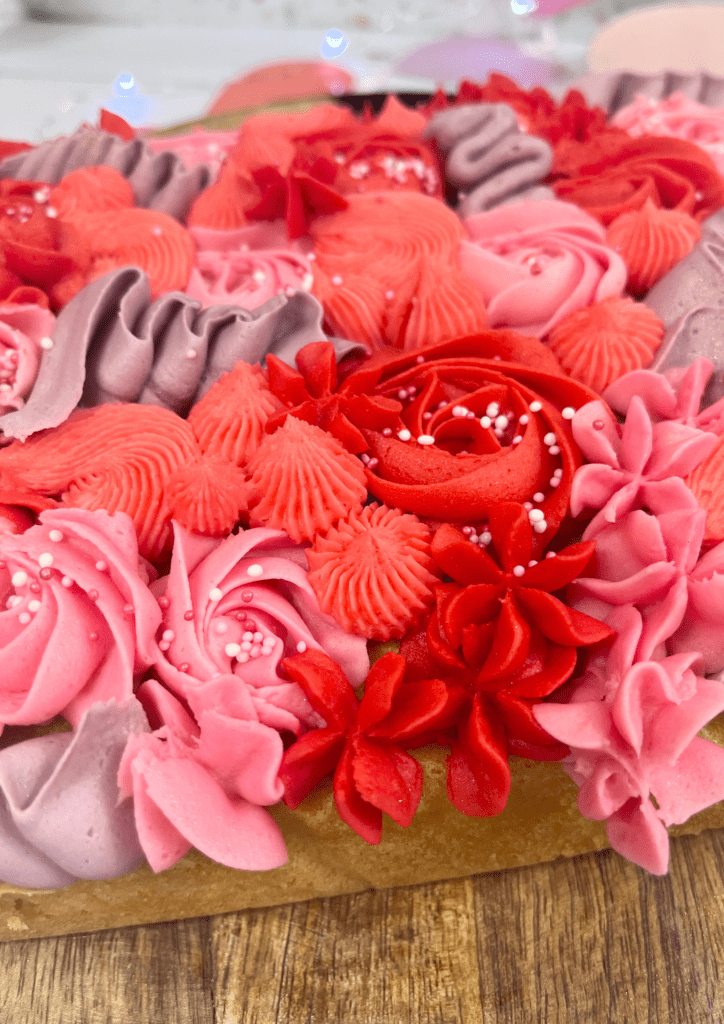
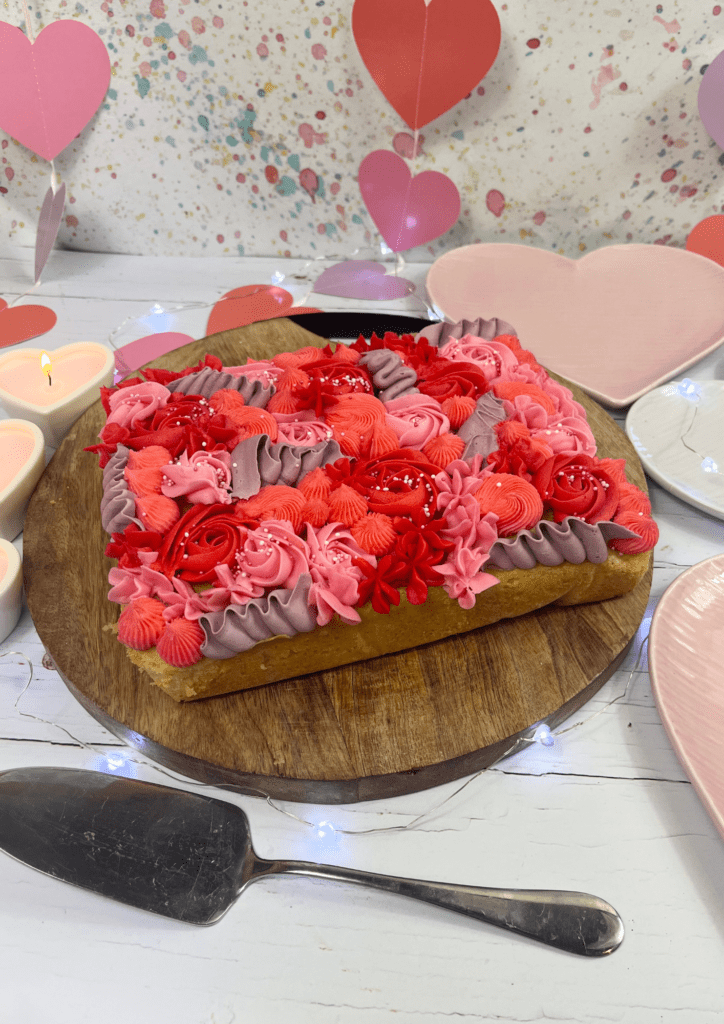
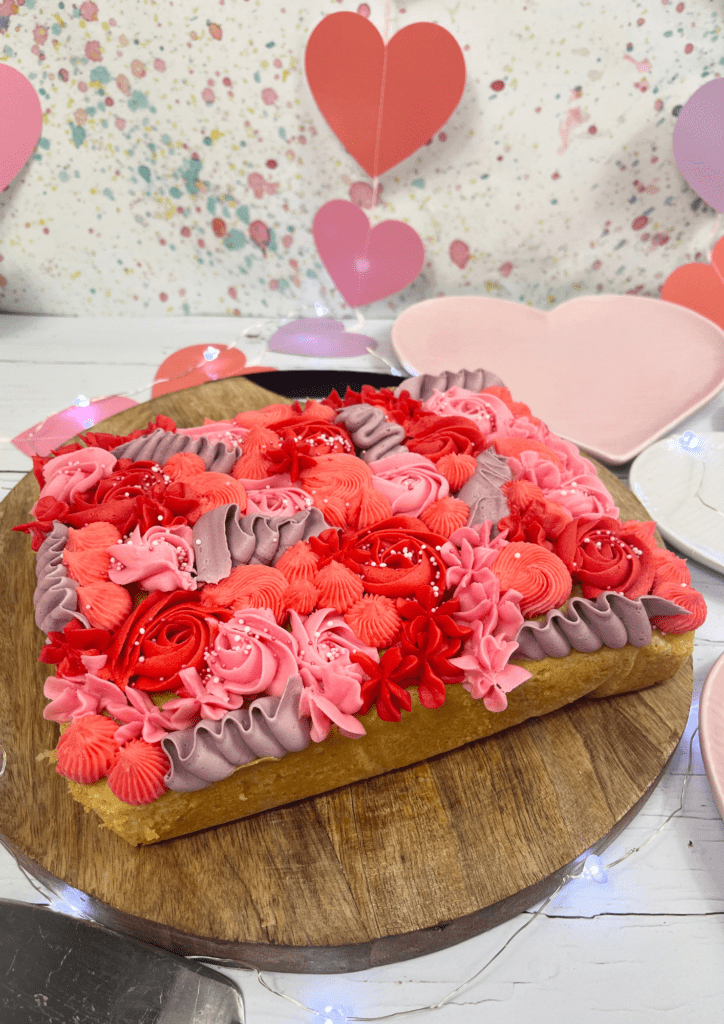
This Valentine’s Day Traybake is one layer of a super quick and simple vanilla cake, decorated with a delicious vanilla buttercream piped to create the cutest Valentine’s Day Traybake.
Happy Valentine’s, Galentine’s, Pal-entine’s day! However, and whoever you are celebrating with I hope you have a lovely day! To celebrate this year, I have made this super cute Traybake.
Jump to Recipe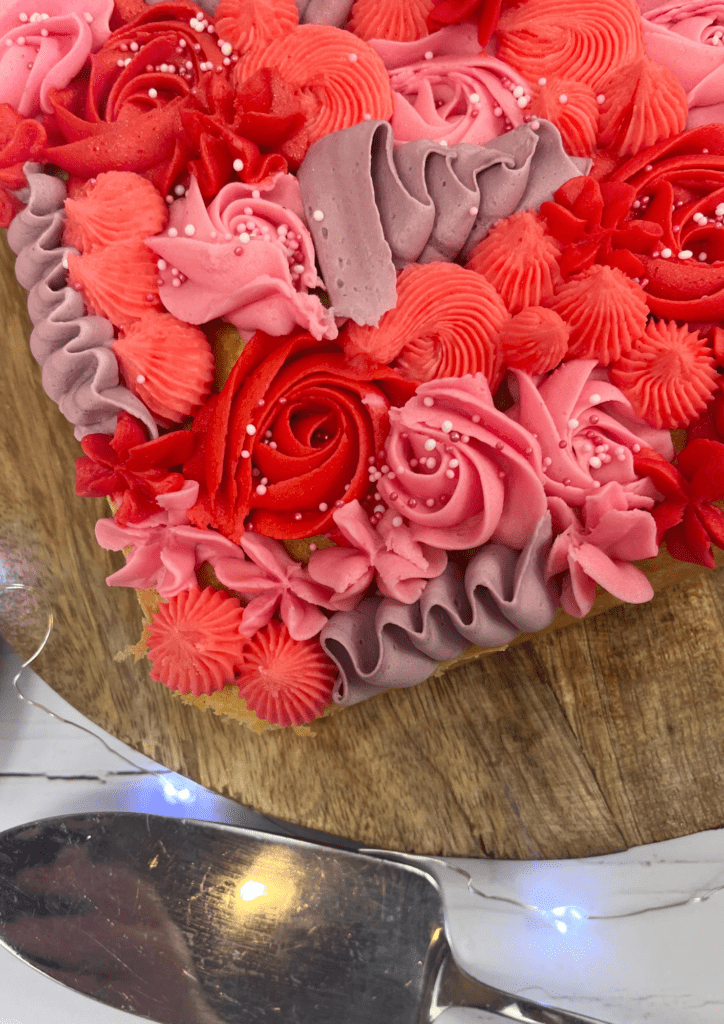
Traybake Cake
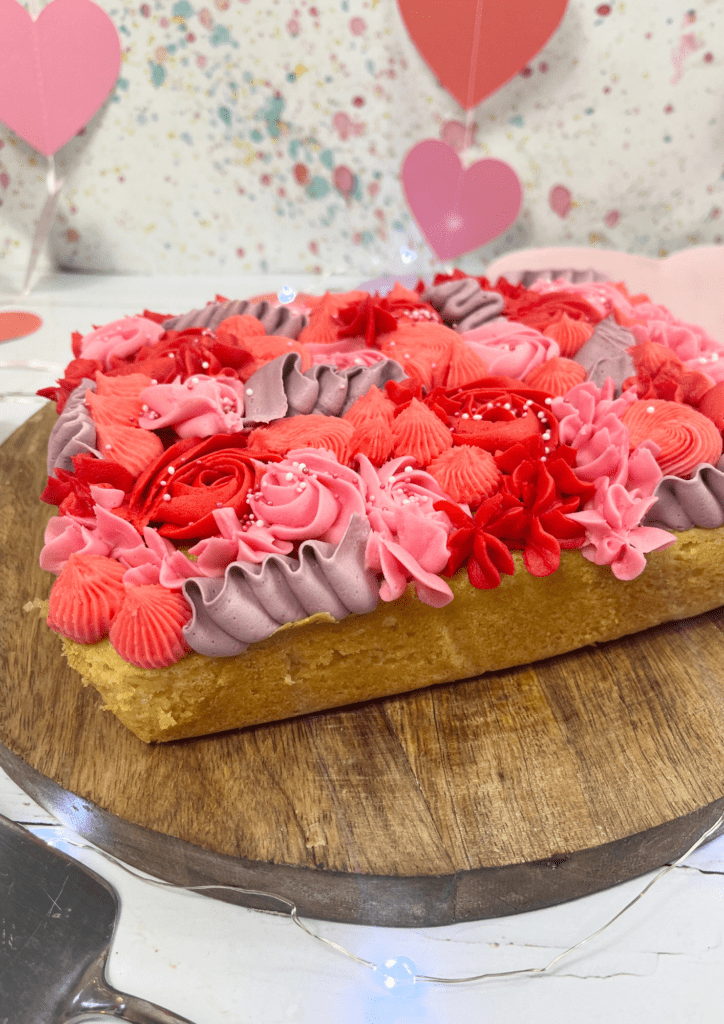
Traybake Cakes are super quick and easy to make. This one is just one layer of cake topped with vanilla buttercream decoration. There is no levelling or halving the cakes involved, no stacking or covering the sides in buttercream.
So, I wanted to focus on the decoration for this cake, so I went with a simple vanilla cake as the base. The beauty of this cake is you can make it any flavour you fancy.
Add cocoa powder to make it chocolate, sprinkles to make it Funfetti or add some lemon zest and juice to make it lemon. Head down to the alternative section for the amounts.
Vanilla Cake
As always when I am making a cake, I started by creaming together the butter and sugar. For the sponge, I always tend to use a baking spread like Stork or a supermarket’s own brand. You can also use unsalted butter too, but I just find that the spread gives you a much lighter and tastier sponge.
There are a few different ways to make cakes, and everyone has their own preference, but I have never had a cake go wrong when using this method.
Once the butter and sugar are lovely and creamed, I add the remaining ingredients before mixing them all together.
Related Recipes
Some people prefer to mix each ingredient individually or add one egg at a time and mix in between but if you over-mix the cake batter it can cause a super dense cake. It can also cause the cake to sink in the middle when you remove it from the oven.
Cake mixes really don’t need a lot of mixing. I use a stand mixer and once I have put in all my ingredients, I only mix it for 1-2 minutes until the mixture has come together and is smooth.
You can use any kind of vanilla flavouring for this cake, I prefer to use Nielsen Massey Vanilla but a supermarket’s own brand of vanilla flavouring will also work perfectly well.
Baking
You will know the cake is ready because it will be golden brown in colour. I recommend baking at 180C or 160 if you are using a fan oven and using an oven thermometer to ensure that your oven is at the correct temperature.
Ovens can vary so much in temperature so it is always a good idea just to keep an eye on yours and make sure it is running at the correct temperature.
If you are unsure if your cake is baked there are a few different ways to check. The first way is to use a cake skewer and test the thickest part of the cake. If the skewer comes out clean then the cake is ready, if there is still batter on the cake then pop it back into the oven for 4-5 minutes and repeat until the skewer comes out clean.
Another way to check the cake is ready is by gently pressing down on the top of it with your finger. When you remove your finger if the cake springs back to its original position, then it is ready. If you end up with a finger-shaped dent in your cake pop it back into the oven and repeat until the cake springs back.
Cooling
The cake needs to be cooled fully before you can start decorating it otherwise the buttercream will just melt and slide off.
Cool the cake for 15-20 minutes in the tin before moving it onto a wire rack to cool fully.
Buttercream
As I said above, I used vanilla buttercream, just because I wanted a buttercream that would colour easily. You could add a flavouring or extract to the buttercream though if you want to flavour it.
When you are making the buttercream you need to use unsalted butter, the type that comes in a 250g block wrapped in foil. Using unsalted butter helps your buttercream keep its shape when you pipe it.
If you were to use a baking spread for the buttercream it would be too soft and just slide off the side.
Food Colouring
So I decided to go with some typical Valentine’s Day colours, pink, red and purple but you can use any colours you fancy.
The best food colourings to use are oil-based ones. For this cake, I used Pale Pink, Strawberry, Red and Purple.
Colour Mill, Colour Splash and Pro Gel are my favourite three food colouring brands to use, you only need a tiny amount of each and you get such a bright, vibrant colour.
I split the buttercream into four bowls and added a little of each food colouring to each bowl.
When you are adding the food colouring start with a couple of drops and mix it into the buttercream. Then gradually add more food colouring in between mixing until you get the perfect colour.
If you add too much food colouring, to begin with then you are stuck with it, there isn’t really anything you can do to soften the colour but if you add a little at a time you have a lot more control over the final colour.
Piping Tips
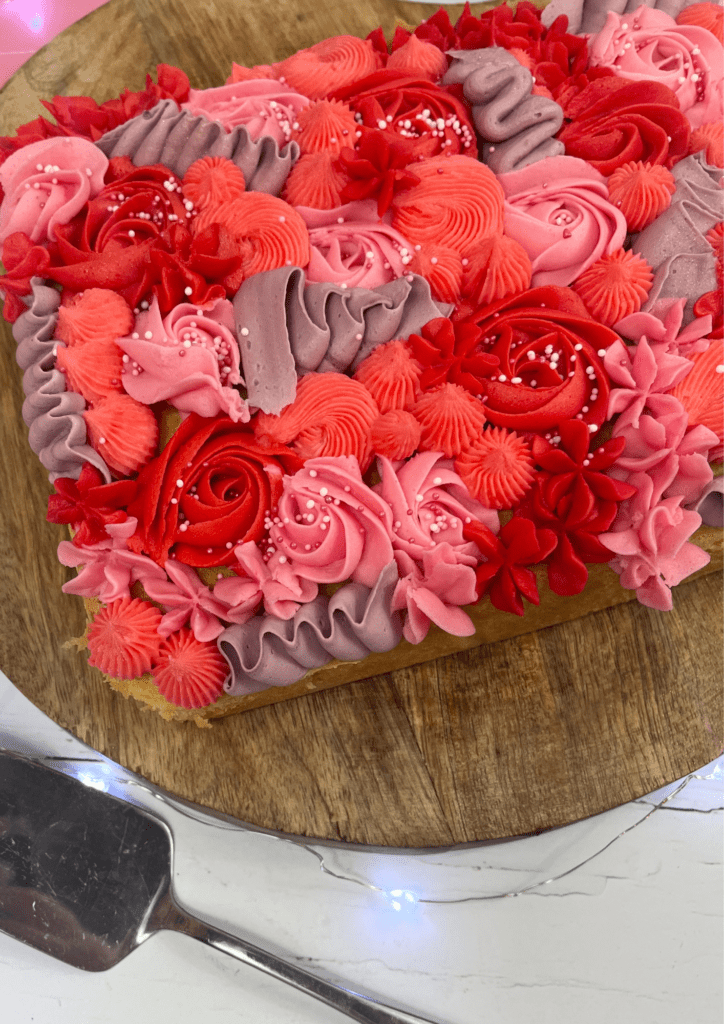
I used three different types of piping tips. I used a 2D Piping Tip, a large petal nozzle and a 4B nozzle.
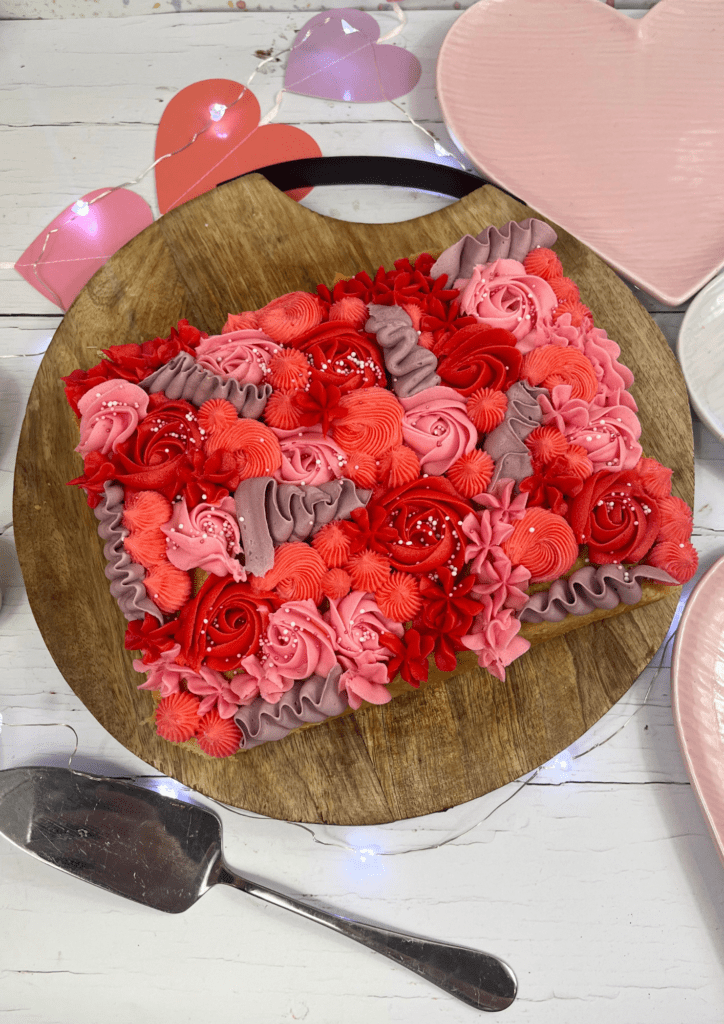
The 2D Piping Nozzle is perfect for piping pretty roses, the left nozzle is perfect for doing a zig-zag line and the open star also gives you such pretty swirls.
I used red and pale pink with the 2D nozzle, purple with the large leaf and strawberry pink with the open star nozzle.
The beauty of this type of decoration though is you can use any piping nozzles you fancy.
I started by piping the red and pale pink roses onto the cake randomly and then filled in the gaps with the other colours. Have fun decorating this cake and just go with the flow.
I really didn’t have anything specific in mind for how I wanted it to look I just had fun and filled in each space on the cake.
Decoration
To finish the decoration on this cake, I used some edible gold glitter spray and these sprinkles.
Alternatives
To make this cake chocolate remove 25g of self-raising flour and replace it with cocoa powder. You will also need to add 25g of whole milk.
If you want to make this Funfetti then use 75g of cook-safe sprinkles. I recommend these Rainbow Funfetti Sprinkles from Iced Jems.
To make this cake lemon flavoured add the juice and zest of 2 lemons.
Equipment
*I earn a small amount of money if you buy any of these products. You will not be charged anything extra for this. Thank you for supporting A Spoonful of Vanilla.
Pin it For Later!
If you do have any questions about this Valentine’s Day Traybake or any other recipes on my blog you can contact me either by sending me a DM on social media or an email. You can find all my details on the left-hand side of this page.
Valentine’s Day Traybake
Ingredients
For the Vanilla Cake
- 200 g Caster Sugar
- 200 g Unsalted Butter or Stork
- 200 g Self-Raising Flour
- 4 Large Eggs
- 1 tsp Vanilla Extract
- 1 tsp Baking Powder
For the Buttercream
- 500 g Icing Sugar
- 250 g Unsalted Butter
- 1 tsp Vanilla Extract
- 3-4 tbsp Whole Milk (optional)
- Red Food Colouring
- Strawberry Food Colouring
- Pale Pink Food Colouring
- Purple Food Colouring
To Decorate
- Sprinkles
- Edible Gold Glitter
Instructions
To Make the Cake
- Preheat the oven to 180C (160C Fan). Line a 12” x 8" tin with greaseproof paper and leave to one side.
- In a large bowl, whisk together the sugar and butter until light and fluffy.
- Add in the flour, eggs, vanilla extract, and baking powder. Whisk until all are combined.
- Pour the mixture into your cake tin and bake in the oven for 35-40 minutes. You will know they are ready when they are springy to touch.
- Leave to cool in the cake tin for 15-20 minutes and then remove and put them on a wire rack to cool fully.
To Make the Buttercream
- Beat the butter in your bowl for 5-10 minutes until pale in colour.
- Add in the icing sugar and vanilla extract and mix until completely combined.
- If the buttercream is too thick, add a tablespoon of milk and mix again. Repeat until the buttercream is the desired consistency.
- Split the buttercream equally between the four bowls. Add a small amount of food colouring to each bowl and mix. Repeat until all four colours are as desired.
- Place each coloured buttercream into a piping bag with a different piping tip.
Decoration
- Pipe all four colours onto the cake in any pattern or design you want.
- Once you have covered the cake in buttercream sprinkle over some sprinkles and edible glitter.
Notes
- This cake will last 3+ days in an airtight container.
This looks amazing. I’m really tempted to give it a go!
Thanks for sharing.
Oh wow this sounds and looks delicious! I’m going to do some Valentine’s baking today, I cannot wait
Rosie
This looks really colourful and tempting.
This cake is beautiful. I love the colors you chose and my weakness is vanilla buttercream. Mmmm, i bet this was tasty. It’a almost to pretty to eat.