

Easter Nest Cupcakes
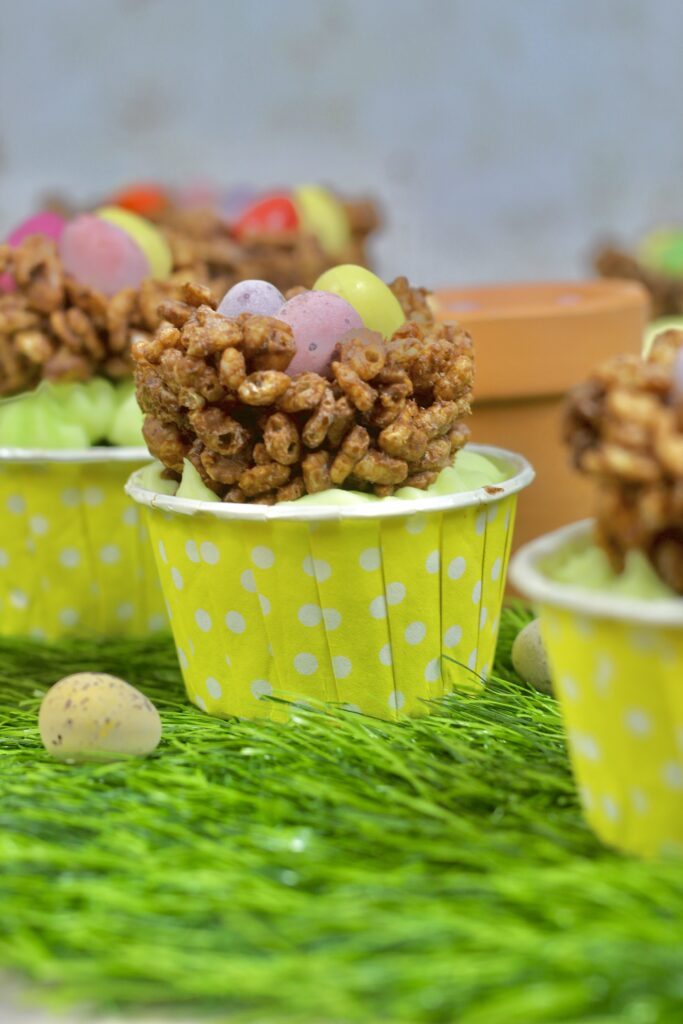
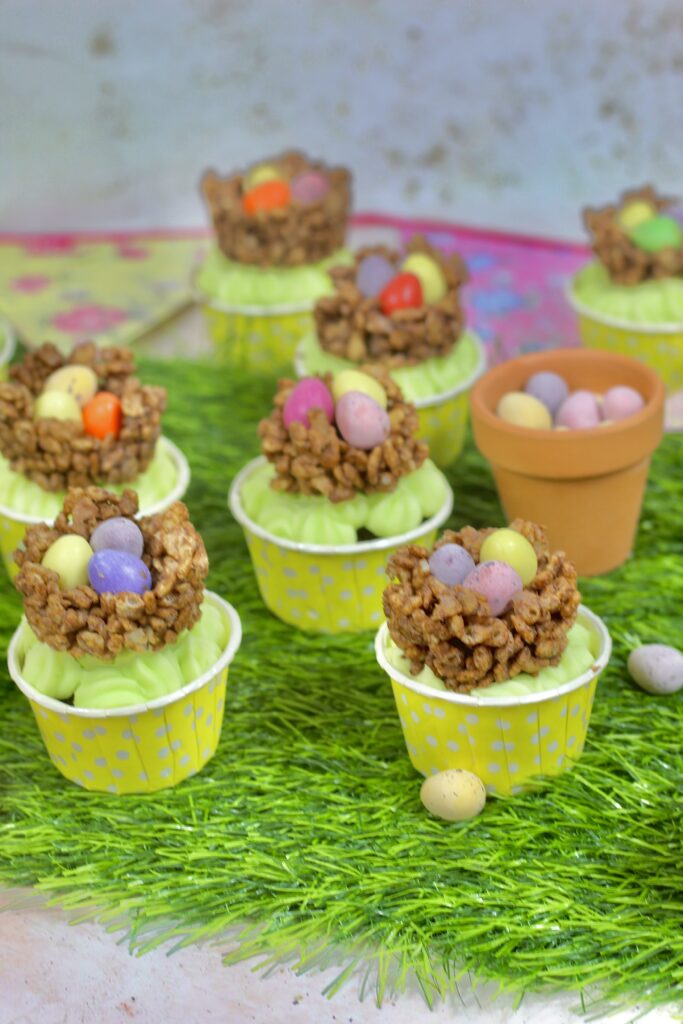
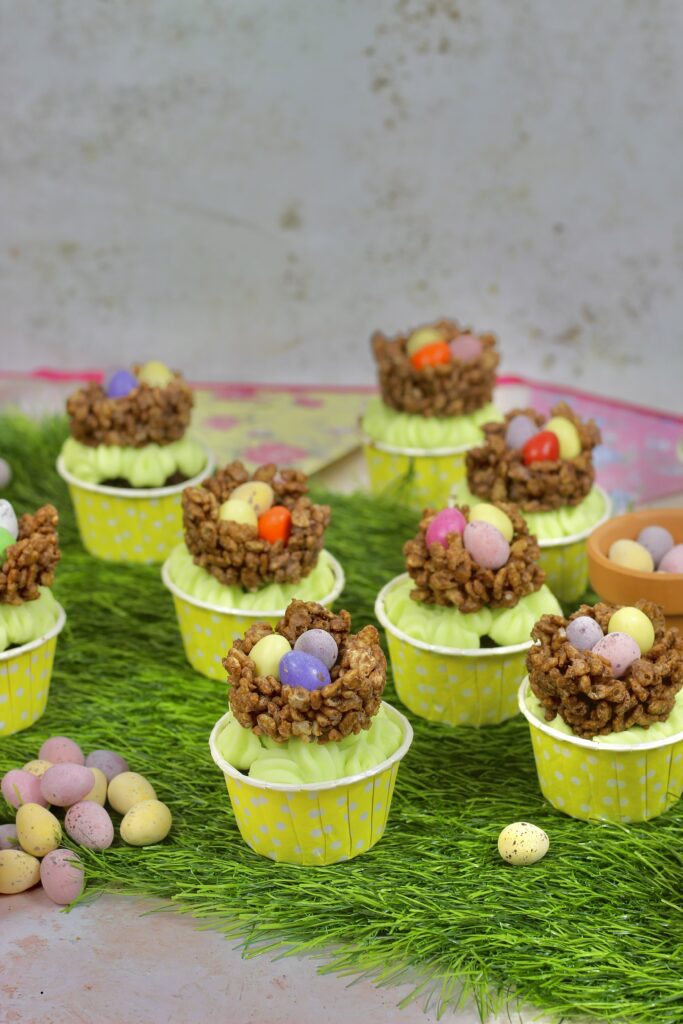
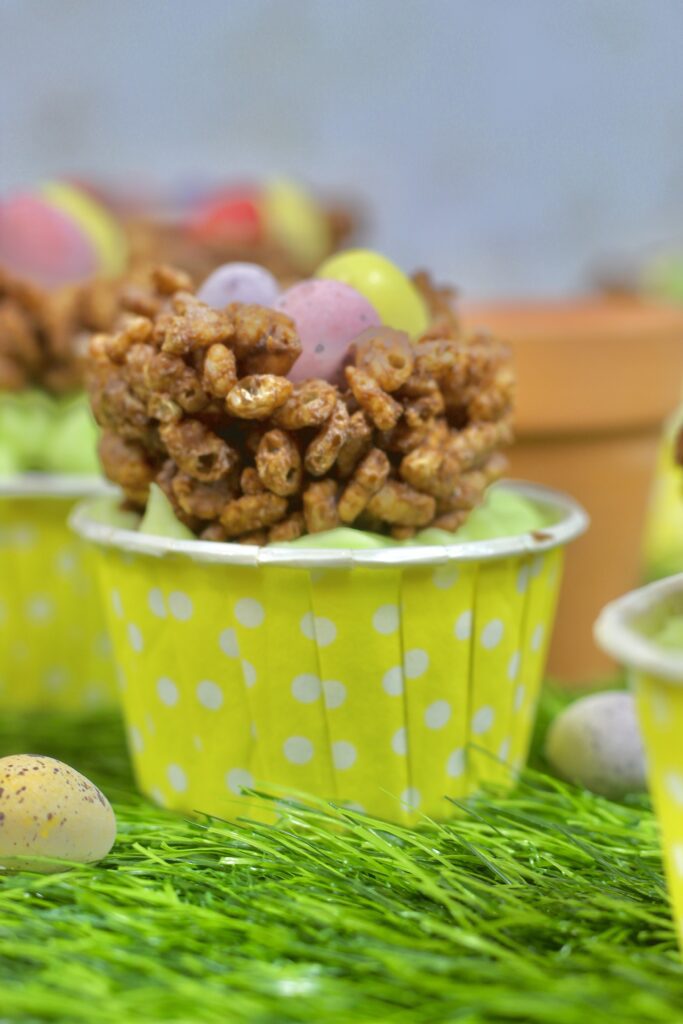
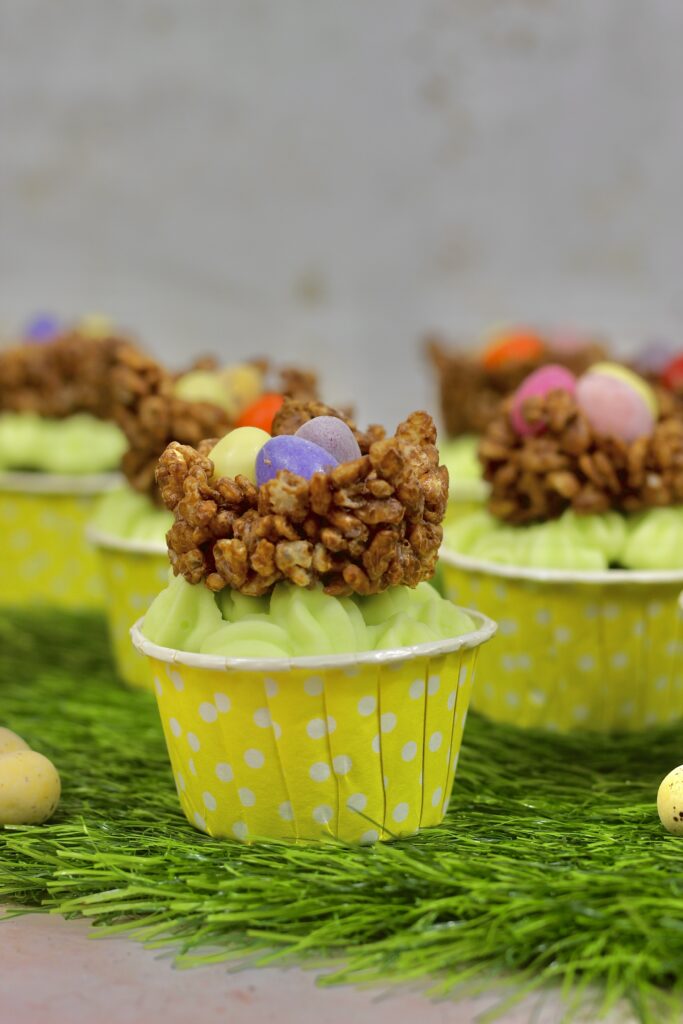
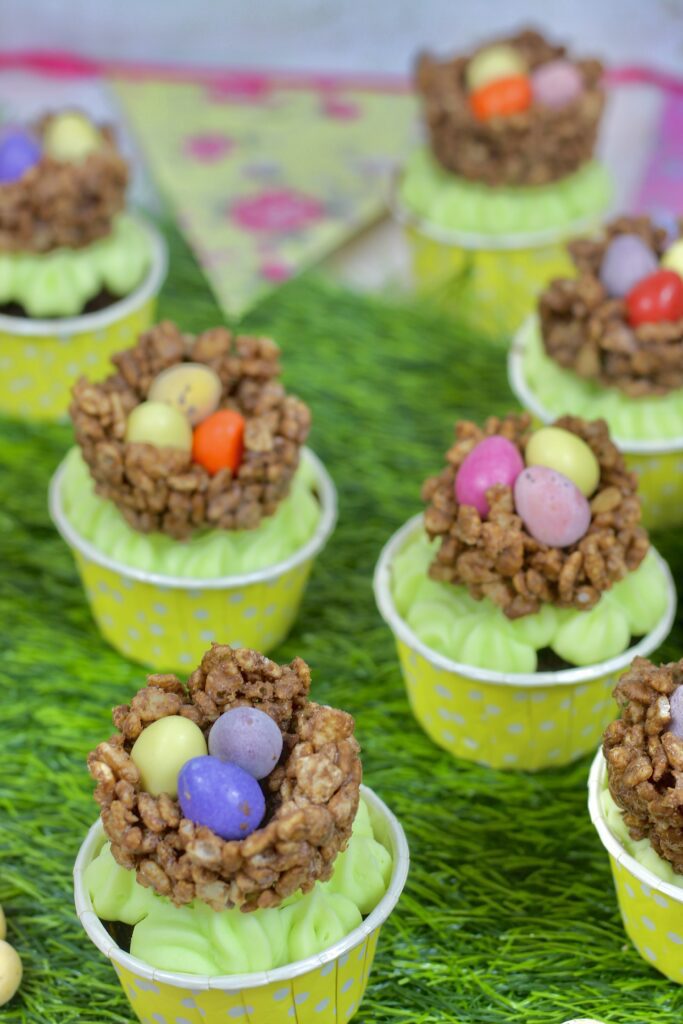
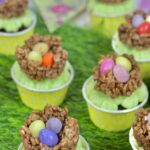
How cute are these Easter Nest Cupcakes? They have a chocolate cupcake, vanilla buttercream and topped with a chocolate Rice Krispie nest filled with delicious Easter treats.
Okay so these cupcakes might technically be two treats in one buuuut it’s Easter so why not go a bit OTT.
Reasons to love these Easter Nest Cupcakes
The best chocolate cupcakes ever! This is my absolute favourite and the best cupcake recipe ever! I always think that adding cocoa powder to a recipe can make the cupcake quite dry. There are no dry cupcakes with this recipe.
Rice Krispie treats – I am sure everyone has made Rice Krispie treats and children and adults. I mean they are so quick and easy to make. I made these in separate cupcake cases then transferred them onto the top of the cupcakes.
Fun Easter bake – This is such a fun recipe to make especially with young children.
Before you start baking
Before you start baking I like to line my muffin trays with cupcake cases that way they are good to know when the Rice Krispie nests are ready. If you have two muffin trays you could line both in preparation to make your cupcakes.
I would also normally preheat my oven so that it is the correct temperature when the cupcake batter is ready. But for this recipe, we are going to make the Rice Krispie nests first so we don’t need to preheat the oven just yet.
Rice Krispie Nests
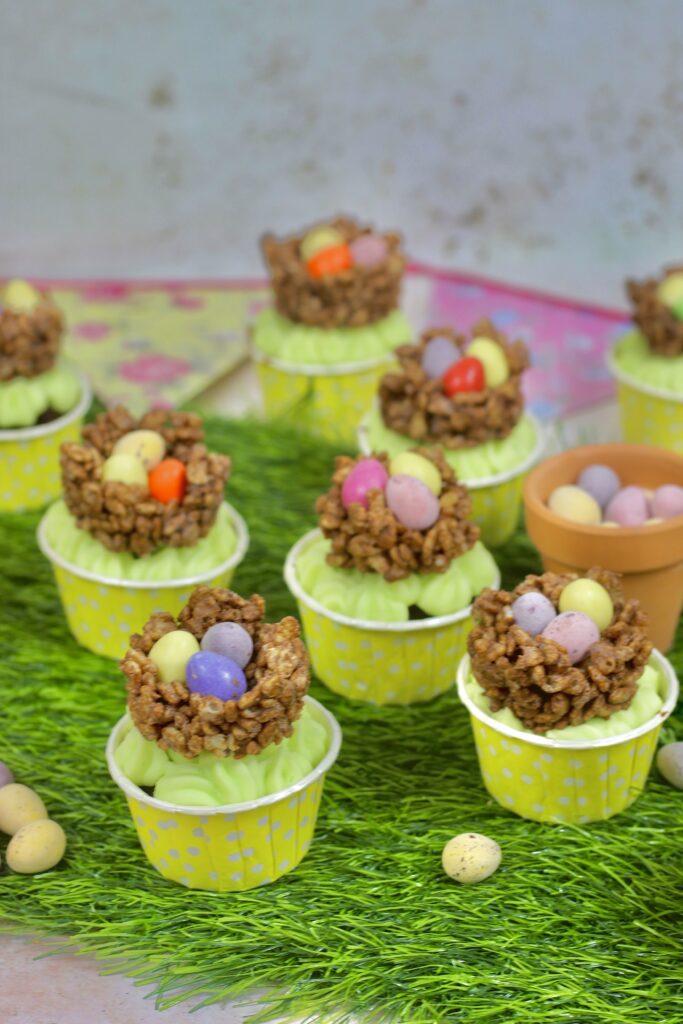
Making the Rice Krispie nests is super easy. Start by melting the chocolate in a heatproof bowl. The best way to do this is in the microwave on 20-second bursts stirring in between until it is completely melted and smooth.
Add the Rice Krispies to the bowl of melted chocolate and mix until the Rice Krispies are completely coated in chocolate.
For the nests, you can use any kind of chocolate you fancy. I used milk chocolate but you could use white or dark if you prefer.
Related Recipes
For the nests themselves, I used Rice Krispies but you could use Corn Flakes instead.
Split the Rice Krispies between the cupcake cases and press some Easter chocolates into the top. I used a mixture of Mini Eggs, Smarties Mini Eggs, and Milkybar Mini Eggs. The beauty of this recipe is that you can use any of your favourite Easter Mini eggs to decorate the nests.
Pop them into the fridge until the chocolate has set.
Chocolate Cupcakes
The recipe for these chocolate cupcakes is based on my vanilla cupcake recipe. Just replace part of the self-raising flour with cocoa powder. As I said above, I find that this can cause the cupcakes to become quite dry which is why I also add in some milk.
To start with cream together the butter and sugar. In this recipe, I use light brown sugar, instead of caster sugar. I just find that it gives the cupcake a lovely hint of caramel. You can use caster sugar if you prefer it won’t affect the texture of the cupcakes.
Once you have creamed together the butter and sugar add in the remaining ingredients and mix until completely combined. The good thing about cupcakes is that the batter only needs to be mixed for a couple of minutes. Until the mixture is smooth and combined. Overmixing the batter can actually cause problems with your cupcakes.
Split the cupcake mixture between the 12 cupcake cases. I used these Baking Cups. They come in so many colours and designs I absolutely love them.
Everyone has their own way of splitting the mixture between the cases. I prefer to use an ice cream scoop. It sounds a bit weird but I put one scoop in each case and I know that they all have exactly the same amount of batter in each.
How do I Know The Cupcakes Are Baked?
There are a few different ways to tell if your cupcakes are baked. The first is to test the cupcakes with a cake tester. Test the thickest part of the cupcakes if the tester comes out clean then the cupcakes are ready. If there is still some cake batter on the skewer then pop them back into the oven for 3-4 minutes. Repeat until the skewer comes out clean.
Another way to test if the cupcakes are ready is to gently press down on the top of the cupcake with your fingers. If the cupcake springs back to its original shape when you remove your finger then they are ready. If you end up with a finger-shaped dent in the cupcake pop them back into the oven for 3-4 minutes. Repeat until the cupcakes spring back.
Leave the cupcakes to cool in the muffin tray for 15-20 minutes before transferring them onto a wire rack to cool fully before decorating
Making the Buttercream
Once your cupcakes have completely cooled make the buttercream. Bet the unsalted butter in your mixer for 5-10 minutes or until the butter is soft and supple.
For the cupcakes, you MUST use unsalted butter. The kind that comes in a block wrapped in foil. If you use a baking spread like Stork, it won’t hold its shape. It is far too soft and you won’t be able to pipe it onto your cupcakes.
Add in the icing sugar and vanilla extract and mix until it is completely combined. The buttercream should be thick and creamy. If you find the buttercream is too thick add a tablespoon of milk one at a time stirring in between each addition until you reach the desired consistency.
Add in a little green food colouring into the buttercream and mix. I wanted it to be a grassy colour. You want to add a little at a time. If you add too much you will be stuck it’s that colour.
Once your buttercream is ready put it into a piping bag with your favourite piping nozzle. I used a Wilton 1D nozzle but you could use a grass nozzle if you have one.
Putting it all together
Pipe the buttercream onto the top of the cupcakes and finish by removing your Rice Krispie nests from the cupcake liners and put them on top.
Alternatives
There are a few different things you could change about these. You could use gluten-free options.
You can use any kind of chocolate you fancy for the nests.
Another change is using cornflakes instead of Rice Krispies for the nests.
Equipment
*I earn a small amount of money if you buy any of these products. You will not be charged anything extra for this. Thank you for supporting A Spoonful of Vanilla.
Pin it For Later!
If you do have any questions about these Easter Nest Cupcakes or any other recipes on my blog you can contact me either by sending me a DM on social media or an email. You can find all my details on the right-hand side of this page.
Easter Nest Cupcakes
Ingredients
For the Rice Krispie Nests
- 150 g Rice Krispies
- 100 g Milk Chocolate
- Mixture of Mini Easter Eggs
For the Cupcakes
- 145 g Unsalted Butter or Stork
- 145 g Light Brown Sugar
- 120 g Self-Raising Flour
- 25 g Cocoa Powder
- 3 Medium Eggs
- 1 tsp Baking Powder
- 1 tsp Vanilla Extract
- 30 ml Whole Milk
For the Buttercream
- 200 g Unsalted Butter
- 400 g Icing Sugar
- 1 tsp Vanilla Extract
- 3-4 tsp Whole Milk (optional)
- Green Food Colouring
Instructions
To Make the Rice Krispie Nests
- Line a muffin tray with cupcake liners and leave to one side.
- In a heatproof bowl add the chocolate and melt in the microwave on 20-second bursts stirring in between each burst.
- Once the chocolate is completely melted add in the rice Krispies and mix until the Rice krispies are completed coated in chocolate.
- Split the rice krispies between the cupcake lines and place 2-3 Easter chocolate on top.
- Put them into the fridge for 2-3 hours until the chocolate has completely set.
To Make The Cupcakes
- Preheat the oven to 180C/160 Fan. Line a muffin tray with cupcake liners and leave to one side.
- In a large bowl, whisk together the sugar and butter until light and fluffy.
- Add in the flour, cocoa powder, eggs, baking powder and vanilla and whisk until all combined.
- Spoon the mixture into the cupcake liners. I use a small ice cream scoop to do this so I know that they are all even.
- Bake in the oven for 15-20 minutes. You will know the cupcakes are ready when they are golden brown and springy to touch.
To Make the Buttercream
- Beat the butter in a large bowl for 5-10 minutes until pale and supple.
- Add the Icing Sugar and Vanilla Extract and mix until it is combined. If you find the buttercream is too thick add 1tbsp of milk and mix again. Repeat until the butter is the perfect consistency.
- Add a little green food colouring to the buttercream and beat. Add a little at a time mixing in between each addition until you reach the desired colour.
- Add the buttercream to your piping bag and leave to one side.
Putting it All Together
- Pipe the buttercream onto the top of your cupcakes.
- Remove the Rice Krispie Nests from the cupcake liners and place them on top of your cupcakes.