
Mini Egg Cheesecake
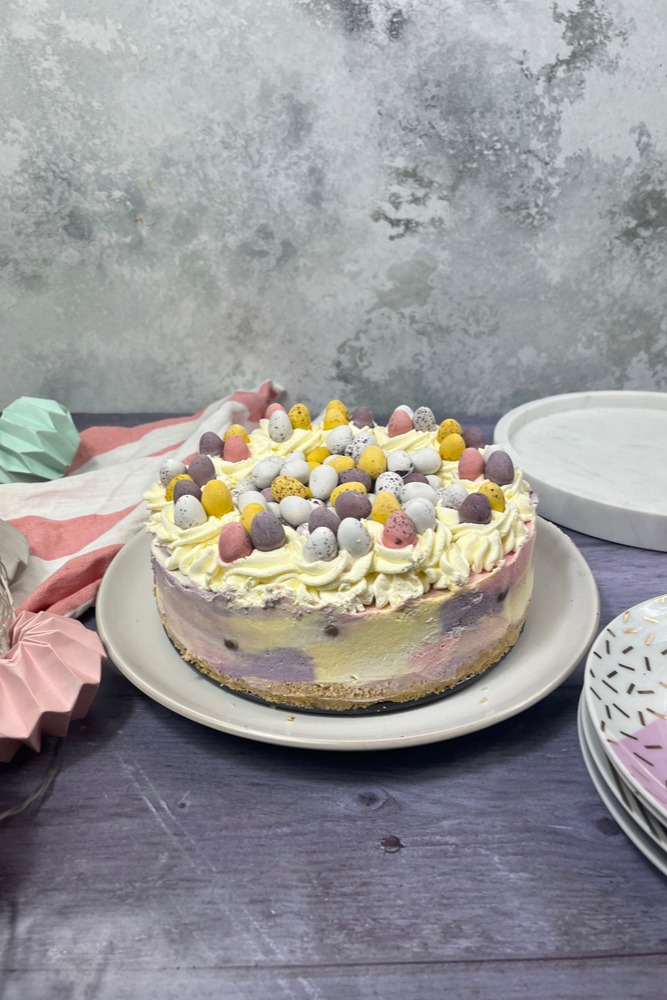
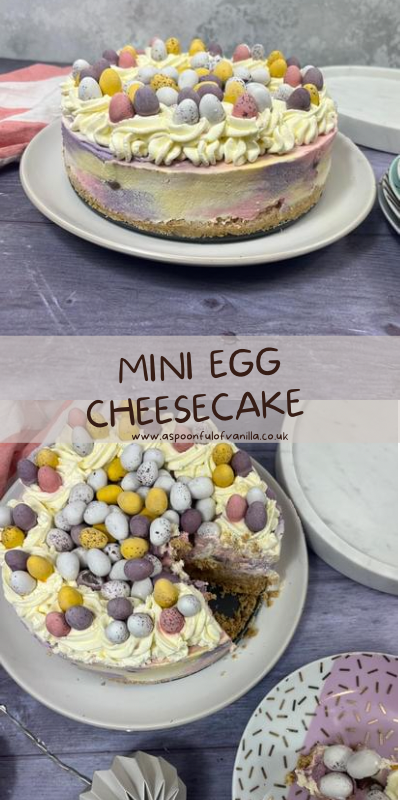
This Mini Egg Cheesecake has a biscuit base, a colourful Mini Egg filled cheesecake topped with double cream and more Mini Eggs.
Easter season can only mean one thing. It’s Mini Egg season! I don’t know about you but I adore Mini Eggs. I think most people are either Mini Egg people or Crème Egg people. In past years I have always opted for a Crème Egg over Mini Eggs but this year I think my loyalty has changed! Sorry, Crème Eggs.
Jump to Recipe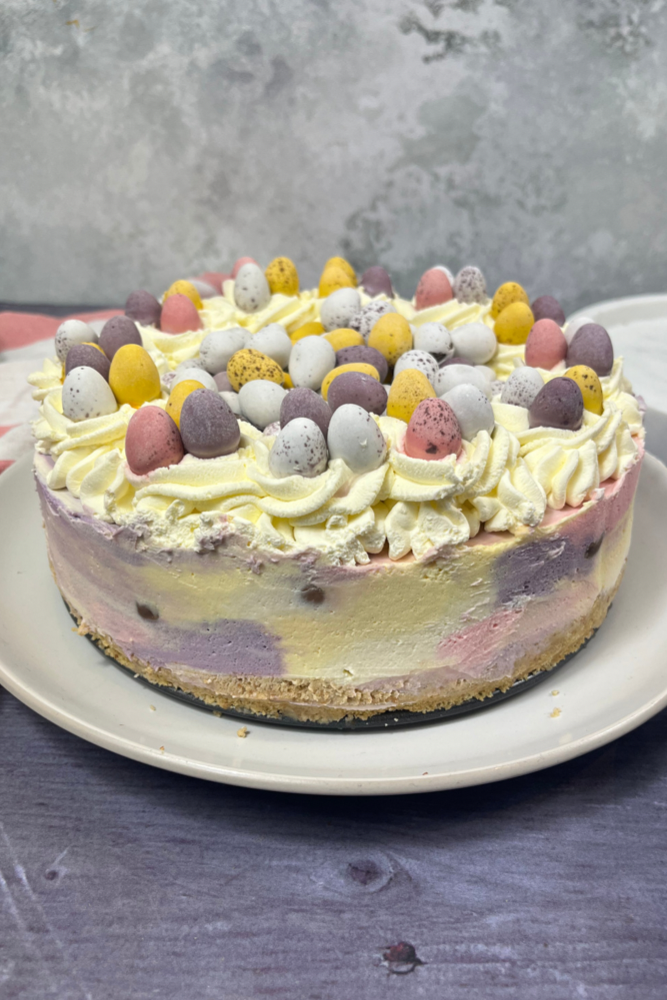
Easter Cheesecakes
It wouldn’t be Easter without a colourful Easter Cheesecake. In past years I have shared the recipe for my Mint Aero Cheesecake and Galaxy Caramel Cheesecake and they are always super popular along with my Mini Egg recipes. This year, a Mini Egg Cheesecake has been such a highly requested recipe (you can request any recipe here!) so of course I had to make one.
Biscuit Base
I love a biscuit base on my cheesecake. I always use a plain digestive biscuit for the base, it just works so well with the cheesecake filling.
You could also use Hobnobs for the base or a filled or chocolate biscuit. If you do use a biscuit with a filling like an Oreo or a chocolate-coated biscuit then you will need to reduce the amount of butter in the recipe. Just head down to the alternatives section for the amounts.
You can use either unsalted butter or a baking spread like Stork for the base. I prefer a slightly crumbly base so I always use Stork in the base, I find using unsalted butter makes the base slightly harder.
I don’t bother lining my tin when I’m making a cheesecake I just find it a bit of a faff to be honest, especially lining the bottom, because once the cheesecake is ready you then need to try and get the baking parchment off the bottom.
When you press the biscuit into the base of your tin just make sure that it is really packed in and nice and level.
Spring-form Tin
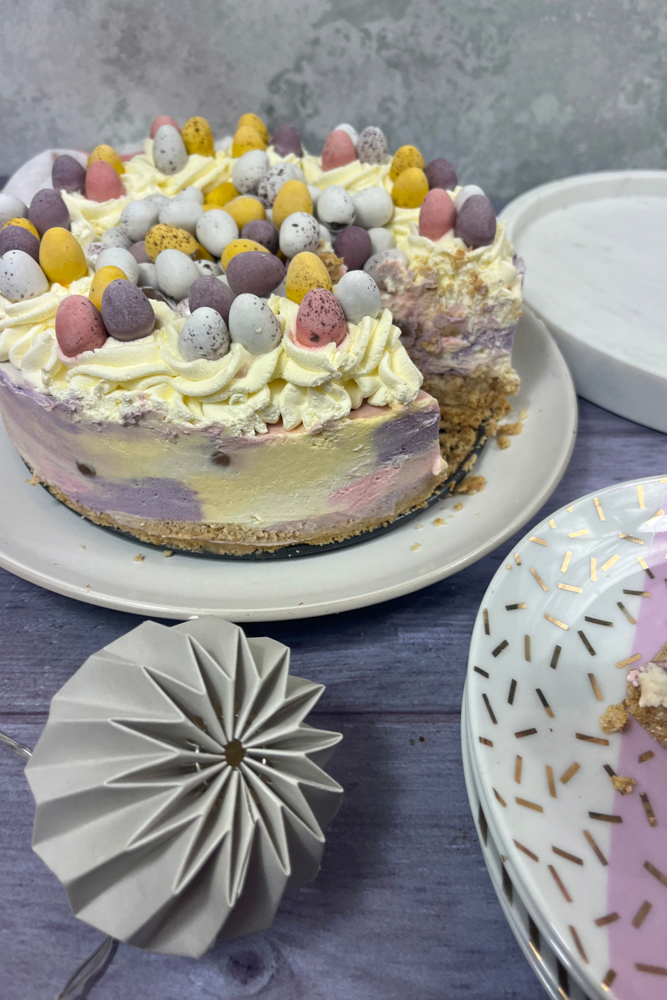
As with all my cheesecake recipes, I always use a spring-form tin. I just find that it is so easy to get them out once they have set.
You could use a loose-bottomed tin if that is what you have at home, but you might need to wipe the cheesecake mixture off the base. When you remove the cheesecake some of it might end up sticking to the sides and as you push the base up it will get caught up with that.
I use an 8” spring from tin. The size is perfect for sharing and you will get around 12 slices of cheesecake from it.
Mini Egg Cheesecake
This Mini Egg Cheesecake is a vanilla-flavoured cheesecake, because I wanted to do the marble effect, I couldn’t really have made it any other flavour.
The base of this cheesecake is just three simple ingredients, full-fat soft cheese, vanilla extract and double cream. Just ensure that the soft cheese and cream are full-fat. You can’t use a low-fat soft cheese or single cream they are just too thin and won’t set, especially the cream.
For the cheesecake to work, both ingredients are whisked together until they form soft peaks. This just won’t happen with single cream or a low-fat version of soft cheese.
I decided with the Mini Egg Cheesecake to do a similar marble effect to my Mint Aero Cheesecake. Of course, I went with the classic colours of Mini Eggs: white, yellow, pink and purple.
I split the cheesecake mixture equally into four bowls, to one I didn’t add anything I just kept it white. To the others, I added pink, yellow and purple food colouring.
Related Recipes
When you add the food colouring, add it a little at a time and mix in between each addition. I wanted to go with pastel colours for the cheesecake so I didn’t need a lot of food colouring. Just a couple of drops of each.
If you add too much food colouring, to begin with, then you are stuck with that colour. There isn’t anything you can do to remove the colour. If you add it a little at a time, it will take a little longer, but you have much more control over the final colour.
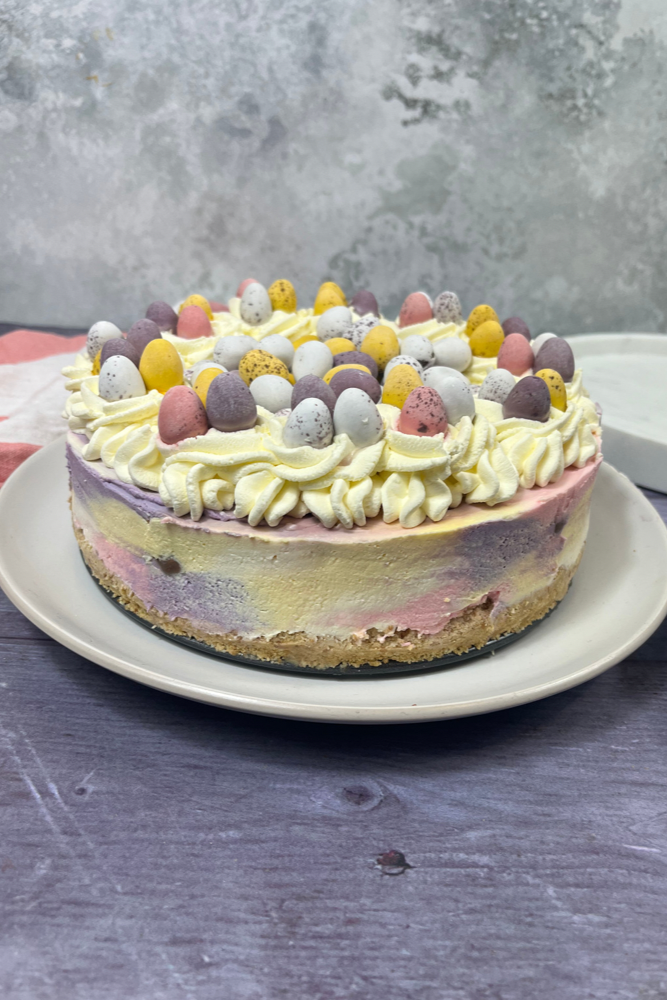
Add each colour of cheesecake to a separate piping bag and pipe blobs of each colour on top of your biscuit base.
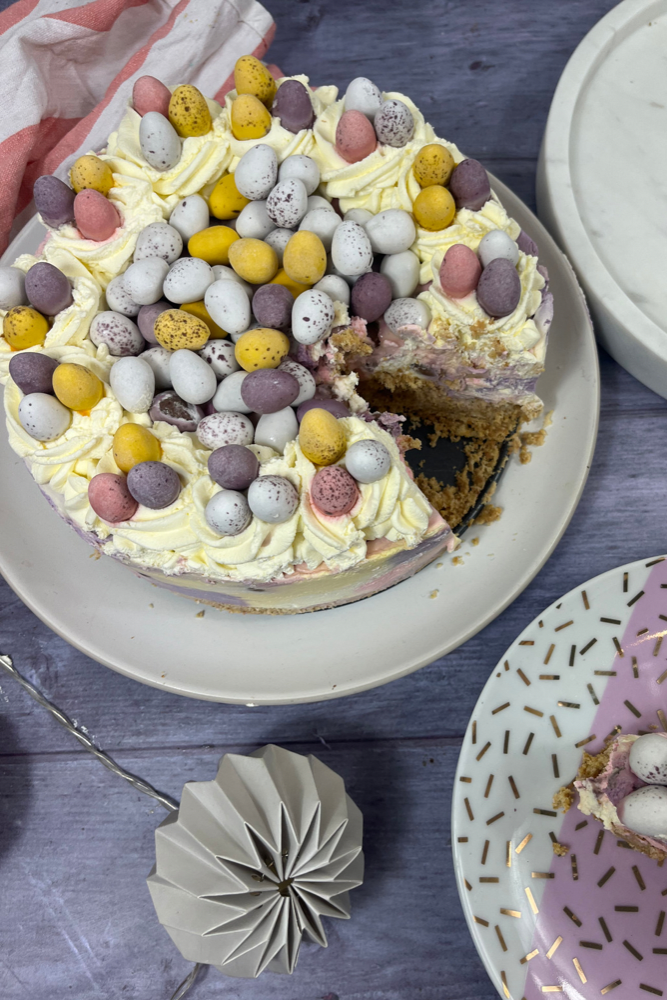
I randomly added splodges of each colour over the biscuit base, remember and make sure you get right up to the sides of the tin. Once I couldn’t see the biscuit base anymore, I sprinkled over some Mini Eggs. Add another layer of colours and Mini Eggs and repeat until you don’t have any cheesecake mixture left.
At this point it will obviously look very splodgy on top, using a palette knife or cake smoother, smooth over the top of the cake. The colours will start to merge but shouldn’t mix.
Setting the Cheesecake
As this is a no-bake cheesecake, it needs to be set in the fridge preferably overnight. If you are doing this at the last minute and don’t have the time to leave it to set overnight, it does need to be in the fridge for a minimum of 4 hours.
The less time it spends in the fridge, the softer the cheesecake is going to be.
Removing the Cheesecake
If you are using a spring-form tin, release the spring and give it a little shake until the cheesecake comes away from the sides. If you find there is a particular bit of cheesecake sticking to the sides of the tin use a knife to gently pry it away from the side.
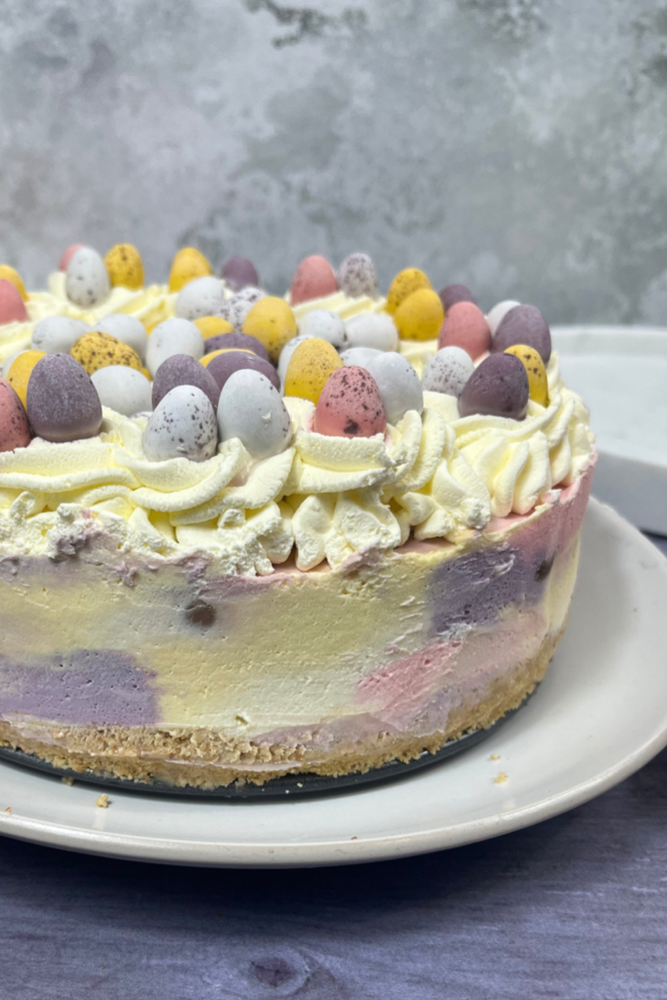
Once you remove the cheesecake from the tin, it will still look a bit splodgy around the sides. Using a cake smoother, or the edge of a knife go around the side of the cheesecake and smooth it out. Again, the colours should start to merge but they shouldn’t mix.
Decorating the Cheesecake
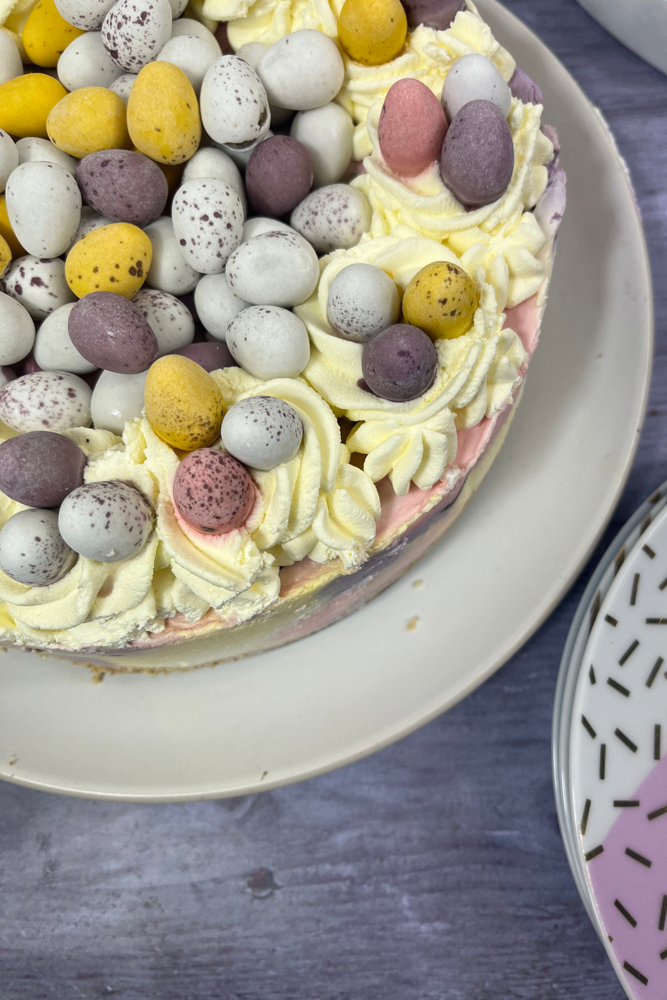
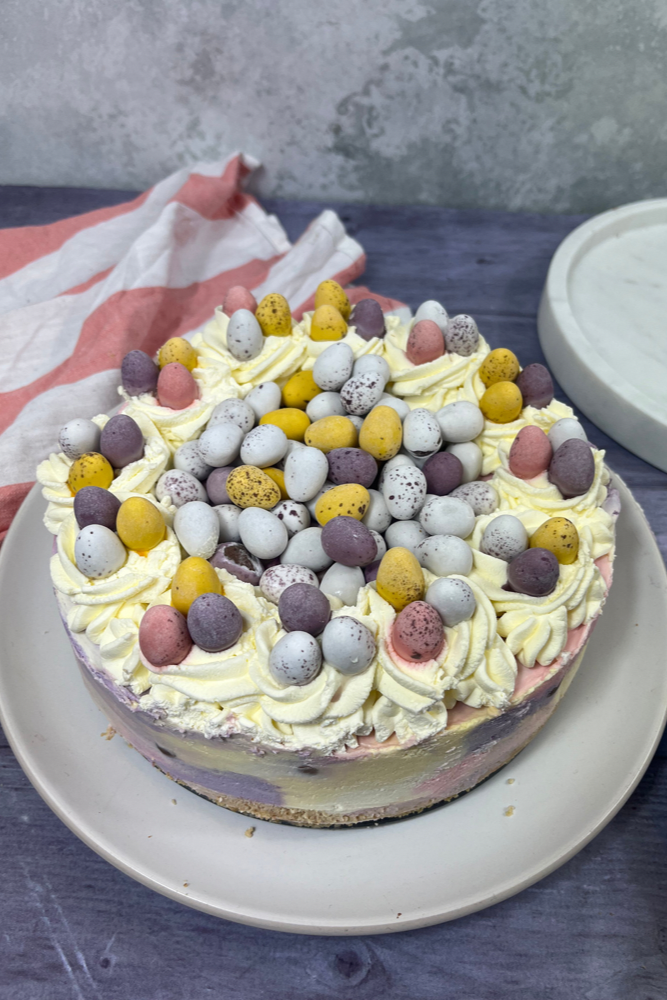
So, the great thing about this cheesecake is that you can decorate it however you fancy. I went with my usual double cream swirls and some more Mini Eggs. You can never have too many Mini Eggs.
I whipped the double cream until it formed soft peaks and piped it onto the top of the cheesecake with a 2D Piping Nozzle, before adding on some more Mini Eggs.
If you don’t like double cream, you can leave that off, or you could add a melted chocolate drizzle. It is completely up to you.
Alternatives
If you are using a biscuit with a filling or a chocolate biscuit then you need to reduce the amount of butter by 25g.
Equipment
Piping Tip
*I earn a small amount of money if you buy any of these products. You will not be charged anything extra for this. Thank you for supporting A Spoonful of Vanilla.
Pin it For Later!
If you do have any questions about this No-Bake Mini Egg Cheesecake or any other recipes on my blog you can contact me either by sending me a DM on social media or an email. You can find all my details on the right-hand side of this page
Mini Egg Cheesecake
Ingredients
For the Biscuit Base
- 125 g Unsalted Butter or Stork
- 350 g Digestives or Hobnobs
For the Cheesecake
- 800 g Full-Fat Soft Cheese
- 300 ml Double Cream
- 1 tsp Vanilla Extract
- Pink Food Colouring
- Yellow Food Colouring
- Purple Food Colouring
- 160 g Mini Eggs
For the Decoration
- 300 ml Double Cream
- Mini Eggs
Instructions
To Make the Biscuit Base
- In a food processor blitz your biscuits to a crumb. Add the butter and pulse for 20-30 seconds until the butter is incorporated and the biscuits now resemble wet sand.
- Pour the mixture into your cake tin and press down with the back of a spoon, until the entire base is covered by the biscuit and it nice and level.
- Leave to one side.
To Make the Cheesecake
- In a bowl whisk the soft cheese, until it is nice and thick
- Add in the double cream and vanilla extract and whisk again until the mixture becomes thick and creates soft peaks.
- Split the mixture between four bowls. To one of the bowls add the pink food colouring, to the other add the purple and to the third add the yellow. Leave the fourth bowl uncoloured.
- Add each colour of mixture to a separate piping bag and either cut off around 1cm off the tip or use a large round nozzle.
- Add blobs of each colour on top of your biscuit base. Remember and make sure you get right up to the sides of the tin and cover the entire biscuit base.
- Once the biscuit base is covered sprinkle over some Mini Eggs.
- Pipe over more of the cheesecake mixture until the Mini Eggs are completely covered and add another layer. Repeat until you have no cheesecake mixture left.
- Smooth the top of the cheesecake using a palette knife or cake smoother. The colours should start to merge together but not mix.
- Put the cheesecake into the fridge overnight or for a minimum of 4 hours.
To Decorate
- Once the cheesecake has set remove it from the tin and place it onto your serving plate.
- If the sides of the cheesecake are looking a little splodgy, smooth them out using a knife of cake smoother. The colours should merge but not mix.
- In a bowl whisk the double cream until thick and it forms soft peaks.
- Pipe the cream onto the top of the cheesecake and decorate with any leftover Mini Eggs.
Notes
- This Mini Egg Cheesecake will last in the fridge for up to 3 days.